Terminate an Entity
If you no longer need an Account or Organization, you can terminate the entity.
We recommend taking the following steps to clean up any infrastructure and third-party dependencies associated with the entity you wish to terminate in Frame Console:
Reduce the Default Capacity max value to 0 for all Accounts you wish to terminate or all Accounts associated with an Organization you wish to terminate.
Delete any Sandbox/Utility server backups.
Delete any Enterprise Profile/Personal Drives and their backups.
If Frame accounts were created using Frame-managed networking, customers using BYO infrastructure should delete any cloud resources (such as a VPN Gateway, a VPC/VNET peer, manually created and attached volumes, or manually created VMs) associated with the Frame Account VPCs/VNETs from their BYO infrastructure console before terminating their Frame Account/Organization entity.
Remove any identity providers registered on the Account or Organization entity to be terminated.
Remove any BYO infrastructure registered on the Organization entity you wish to terminate (after all Accounts in that Organization are terminated).
Entity termination is an irreversible action.
Terminate via Frame Admin Console
You terminate a Frame Account or Organization entity, as follows:
Navigate to the entity you wish to terminate in the Admin Console.
Click on the kebab listed next to the entity you wish to terminate and select Update. In this example, we will terminate the “Test Account” account.
Navigate to the Terminate tab at the top.
Click Terminate in the upper right corner.
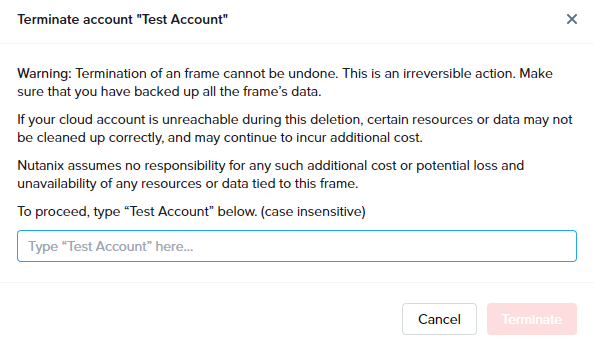
A dialog box will appear prompting you to confirm your decision by typing the name of the entity into the field provided and clicking Terminate once again.
Frame will now begin terminating the entity. Once the entity is terminated, you will see the task marked as Done in the Notification Center.
Terminate Account in Account Settings
You may also terminate a Frame Account within Account Settings.
Terminating an account through Account Settings does require you to have the Organization or Customer Administrator role. You cannot terminate an account with the Account Administrator role.
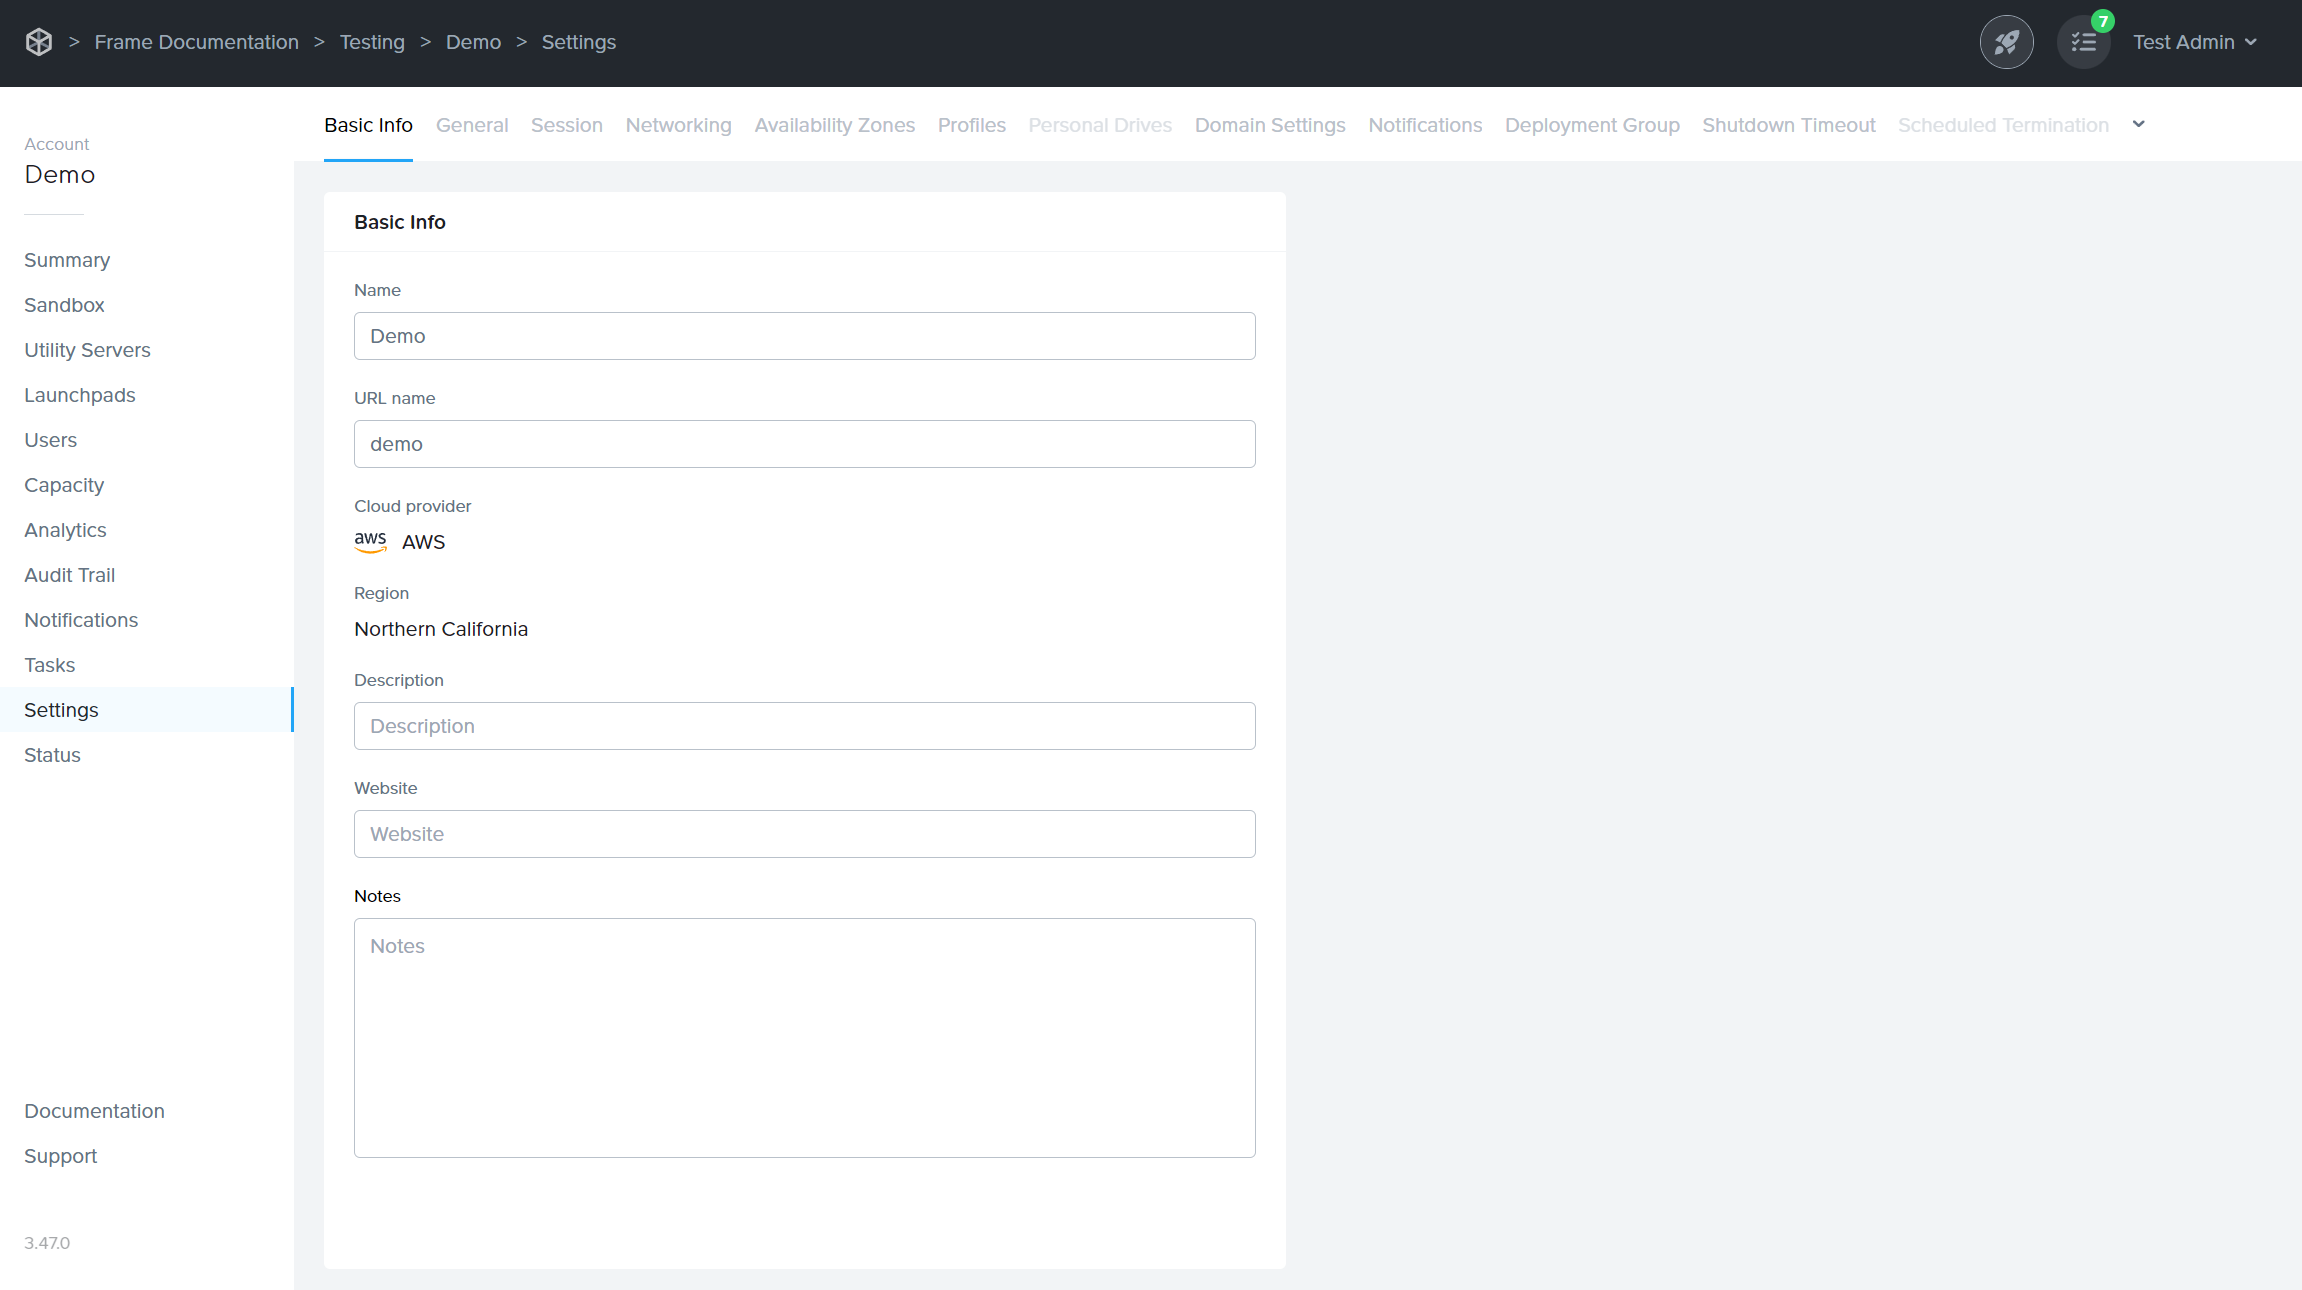
From the Frame Account Dashboard, go to Settings page.
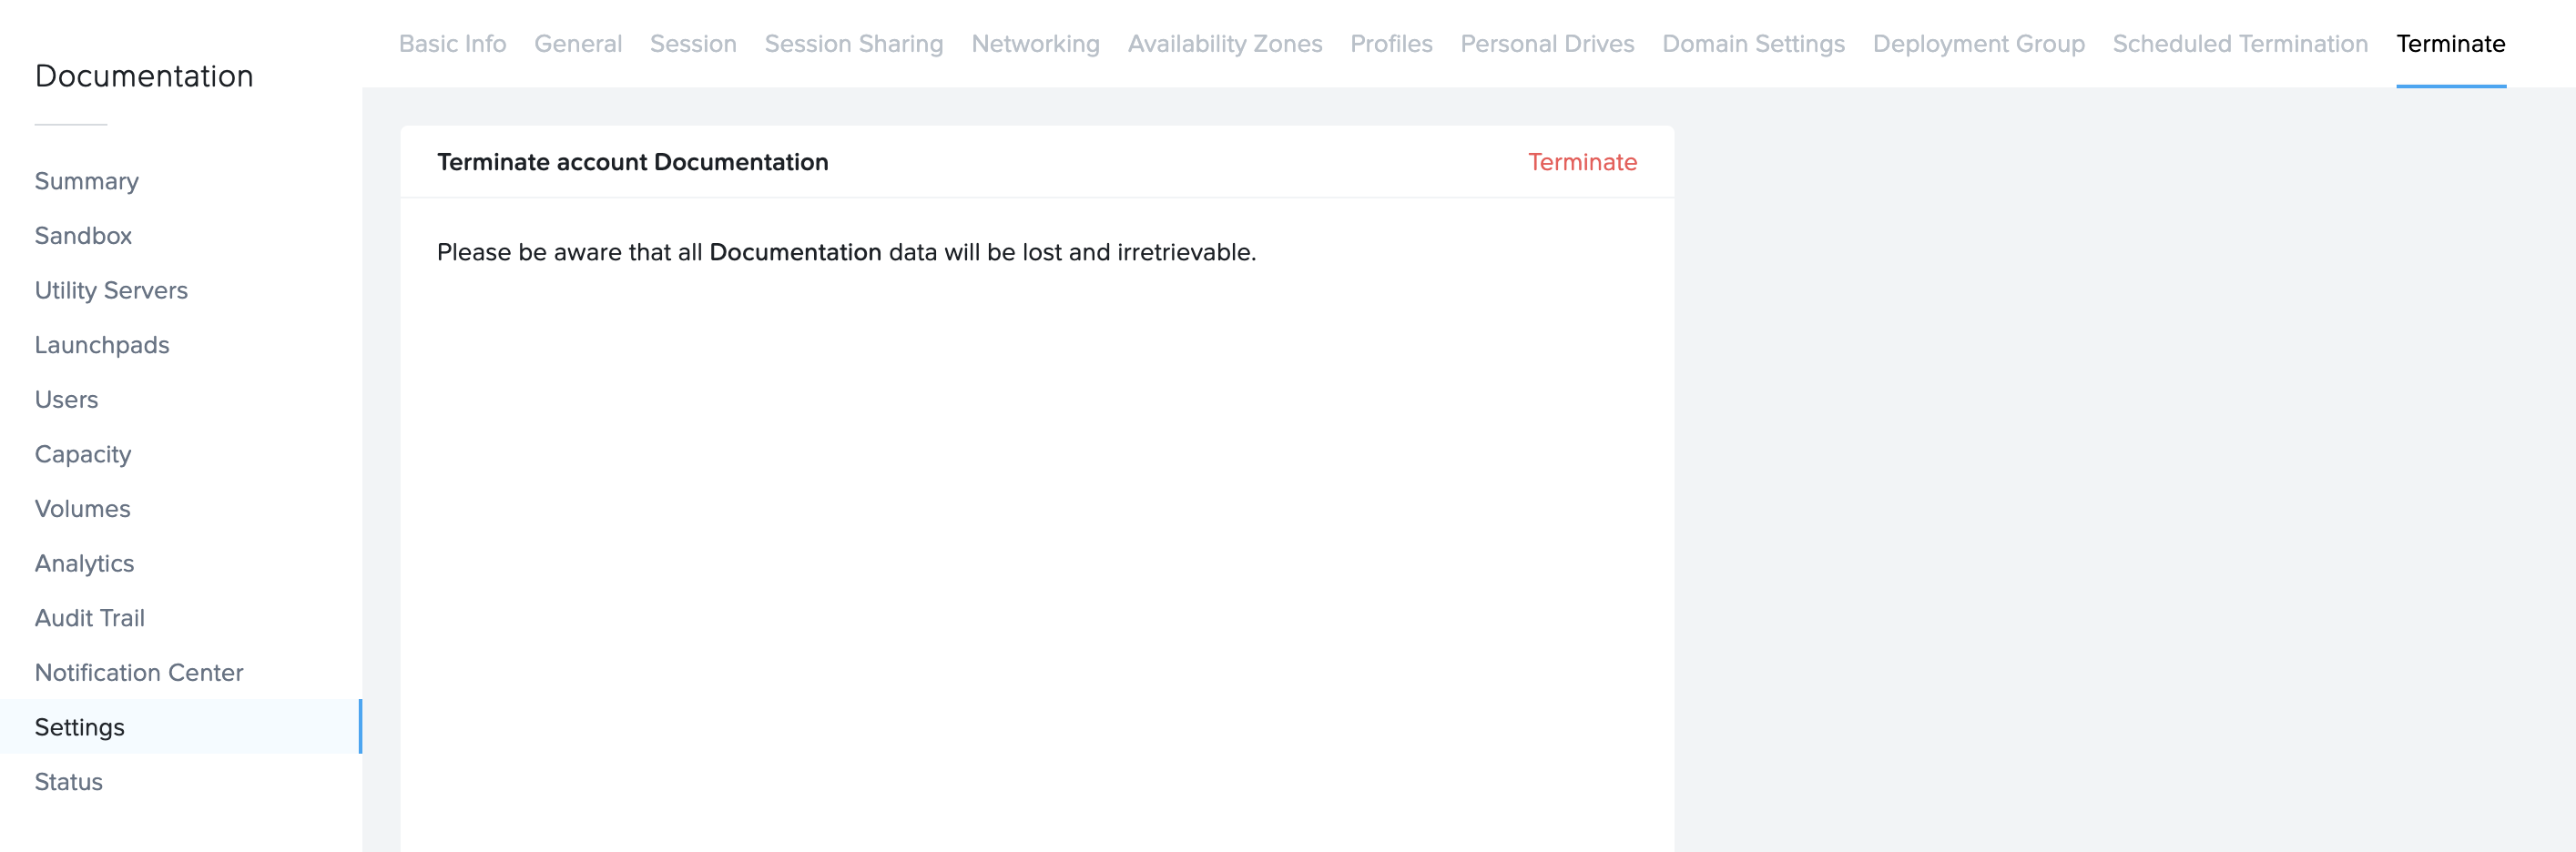
Click on the Terminate tab.
A dialog box will appear prompting you to confirm your decision by typing the name of the entity into the field provided and clicking Terminate once again.

Frame will now begin terminating the entity. Once the entity is terminated, you will see the task marked as Done in the Notification Center.
Scheduled Account Termination
Customers who want a Frame Account to be terminated automatically on a specific date/time can enable the Scheduled Termination feature. When the configured date and time passes, Frame will terminate the account. Administrators can disable the Scheduled Termination feature and change the Scheduled Termination date/time.
Enable Scheduled Termination
From the Frame Account Dashboard, go to Settings page.
Click on the Scheduled Termination tab.

Click the checkbox next to Scheduled account termination.

Specify the date, time, and timezone when Frame will terminate the Frame Account. Be sure to click on the Save button in the upper right corner of the page to save your settings.
Once you have enabled Scheduled Termination, you will see a banner at the top of your Dashboard stating the Frame Account has been configured for Scheduled Termination.

In the Dashboard > Summary page, the number of days remaining before the account is terminated and the date/time when the account is terminated are shown.

Disable Scheduled Termination
To disable Scheduled Termination:
From the Frame Account Dashboard, go to Settings page.
Click on the Scheduled Termination tab.
Click the checkbox next to Scheduled account termination to disable the feature.
Click on the Save button in the upper right corner of the page to save your settings.