Launchpads
The Launchpad is the end user-facing part of the Frame platform interface where users launch and manipulate applications. The Frame platform allows you to have multiple Launchpads that can be customized for different use cases and workflows. Launchpads are attached to Accounts and, at their core, they are a representation of the applications that are available for streaming.
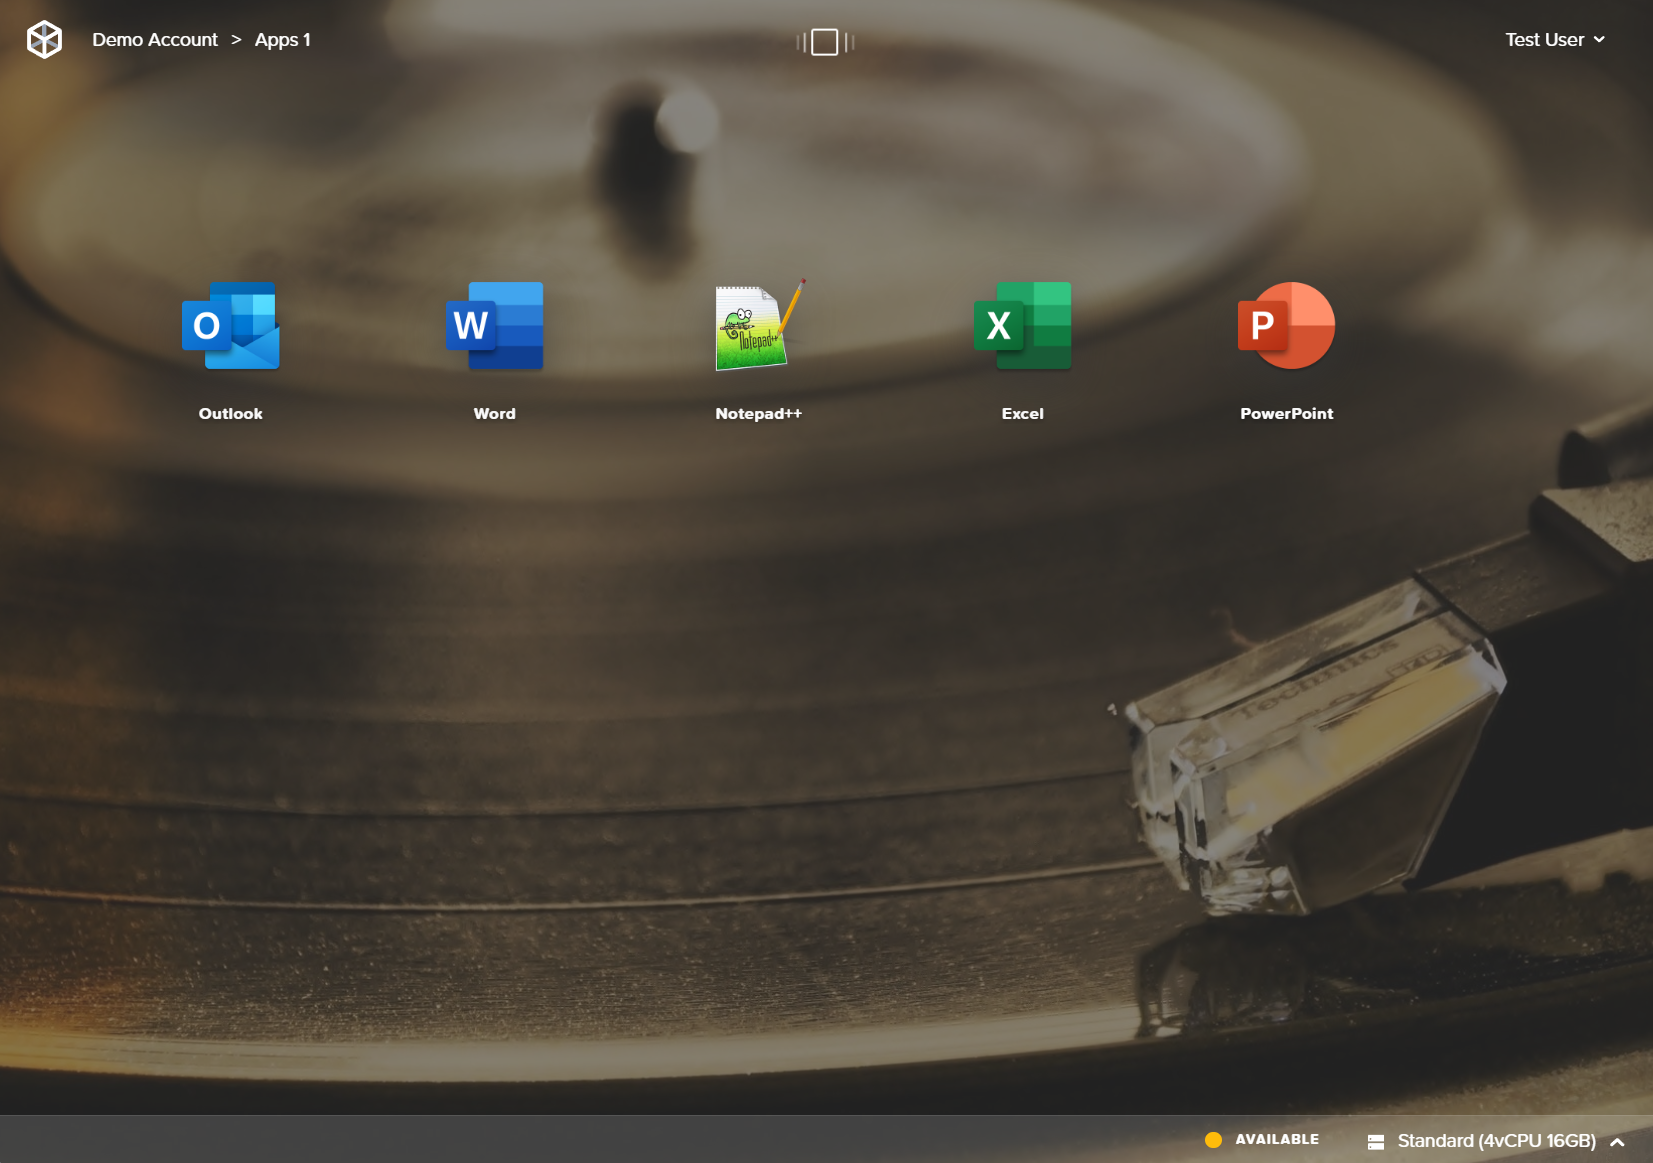
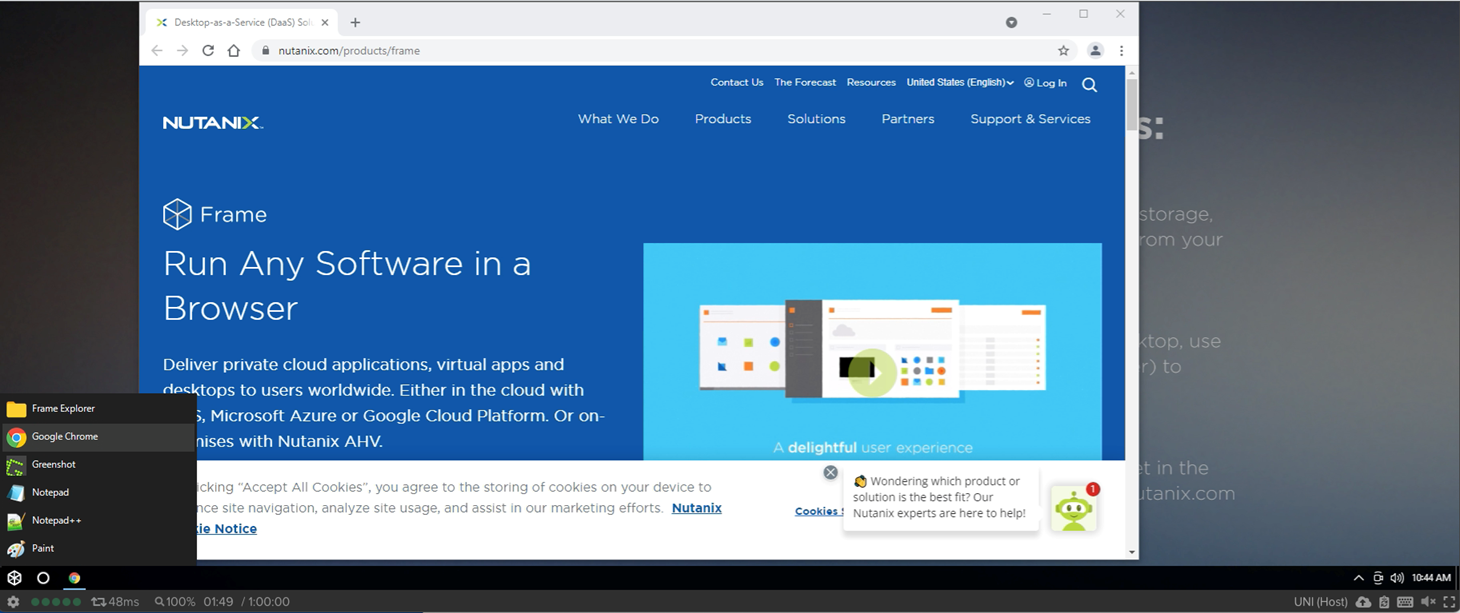
An example of a simple application Launchpad:
Clicking on the Launchpad list icon in the upper middle portion of the page will show users all Launchpads they have access to (including titles and thumbnails).
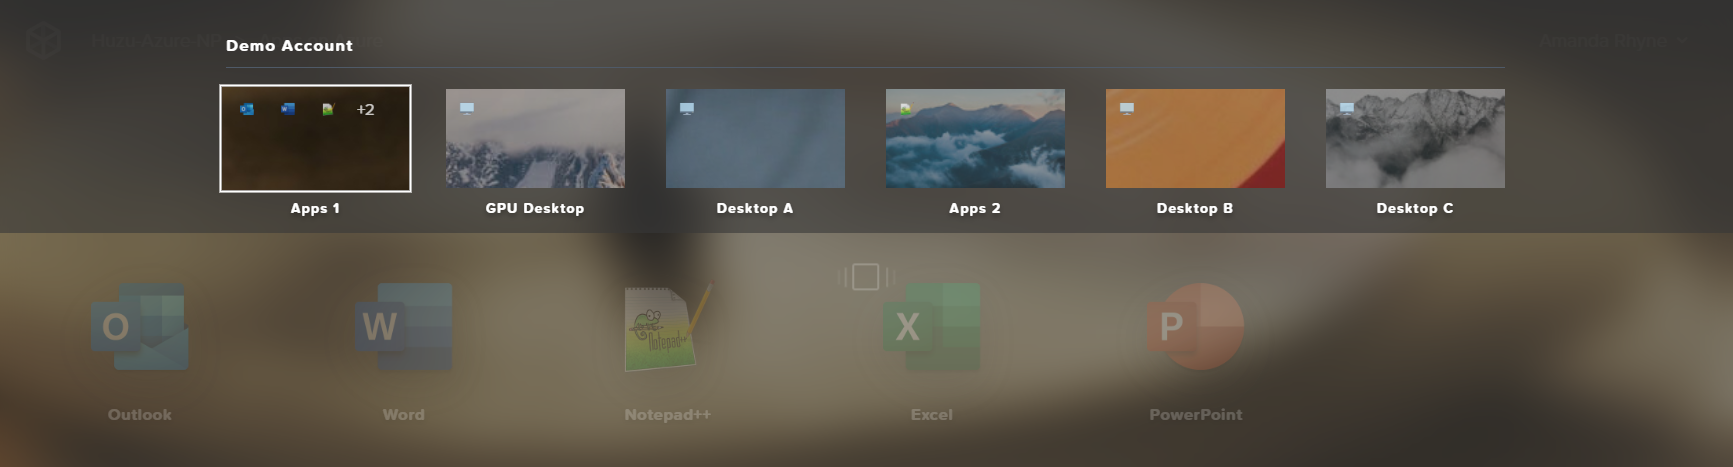
From this interface, the end user can easily access any or all of the Launchpads they have access to. This provides an efficient entryway into any of their applications and desktops. The rest of this guide will focus on creation and administration of these Launchpads.
Application vs. Desktop Launchpads
End users may use two distinct types of Launchpads. Application Launchpads are designed to serve multiple application sets to end users, while Desktop Launchpads provide a single icon that takes the user to a limited Desktop environment. Desktop environments give users access to applications within the session instead of the Launchpad interface.
Add a Launchpad
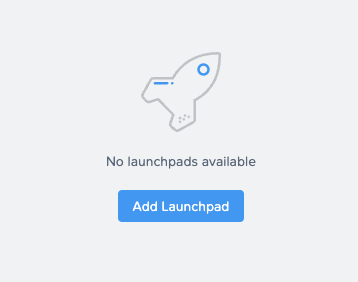
Administrators can create and configure Launchpads by navigating to the Launchpads page of their Account Dashboard. Start by clicking Add a Launchpad in the middle of the page.
Application Launchpad is not available with Persistent Desktop Frame accounts. If you wish to deliver individual applications to your users, create a non-persistent Frame account.
Whether you would like to deliver Applications or a Desktop interface to your users, select the desired Launchpad type and enter a name and URL slug into the corresponding fields. For this example, we'll select the Application Launchpad type.
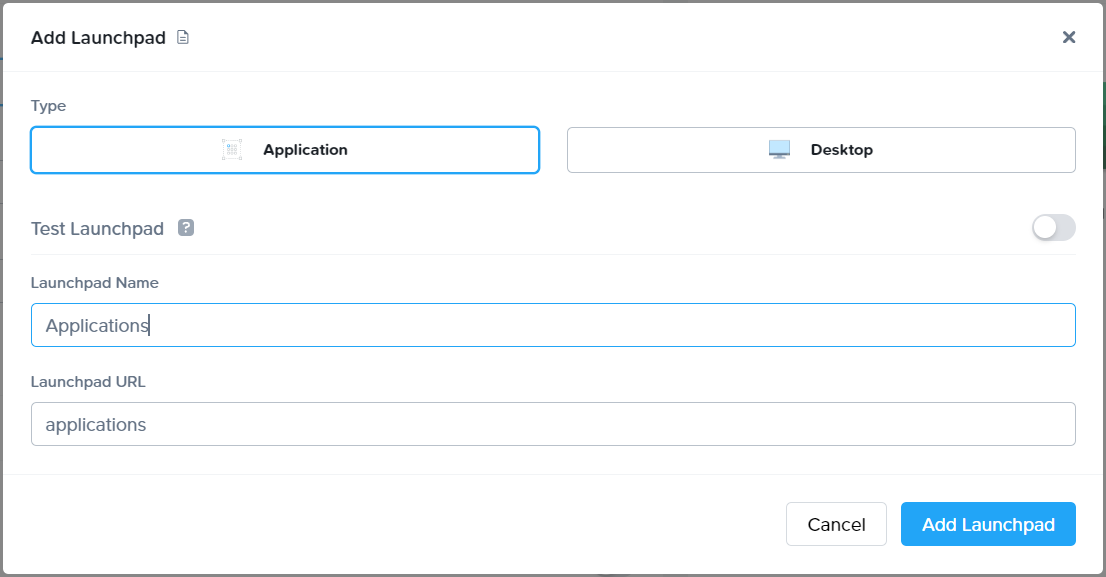
Click Add Launchpad once all details have been entered. Your Dashboard interface will now display your new Launchpad:
Configure a Launchpad
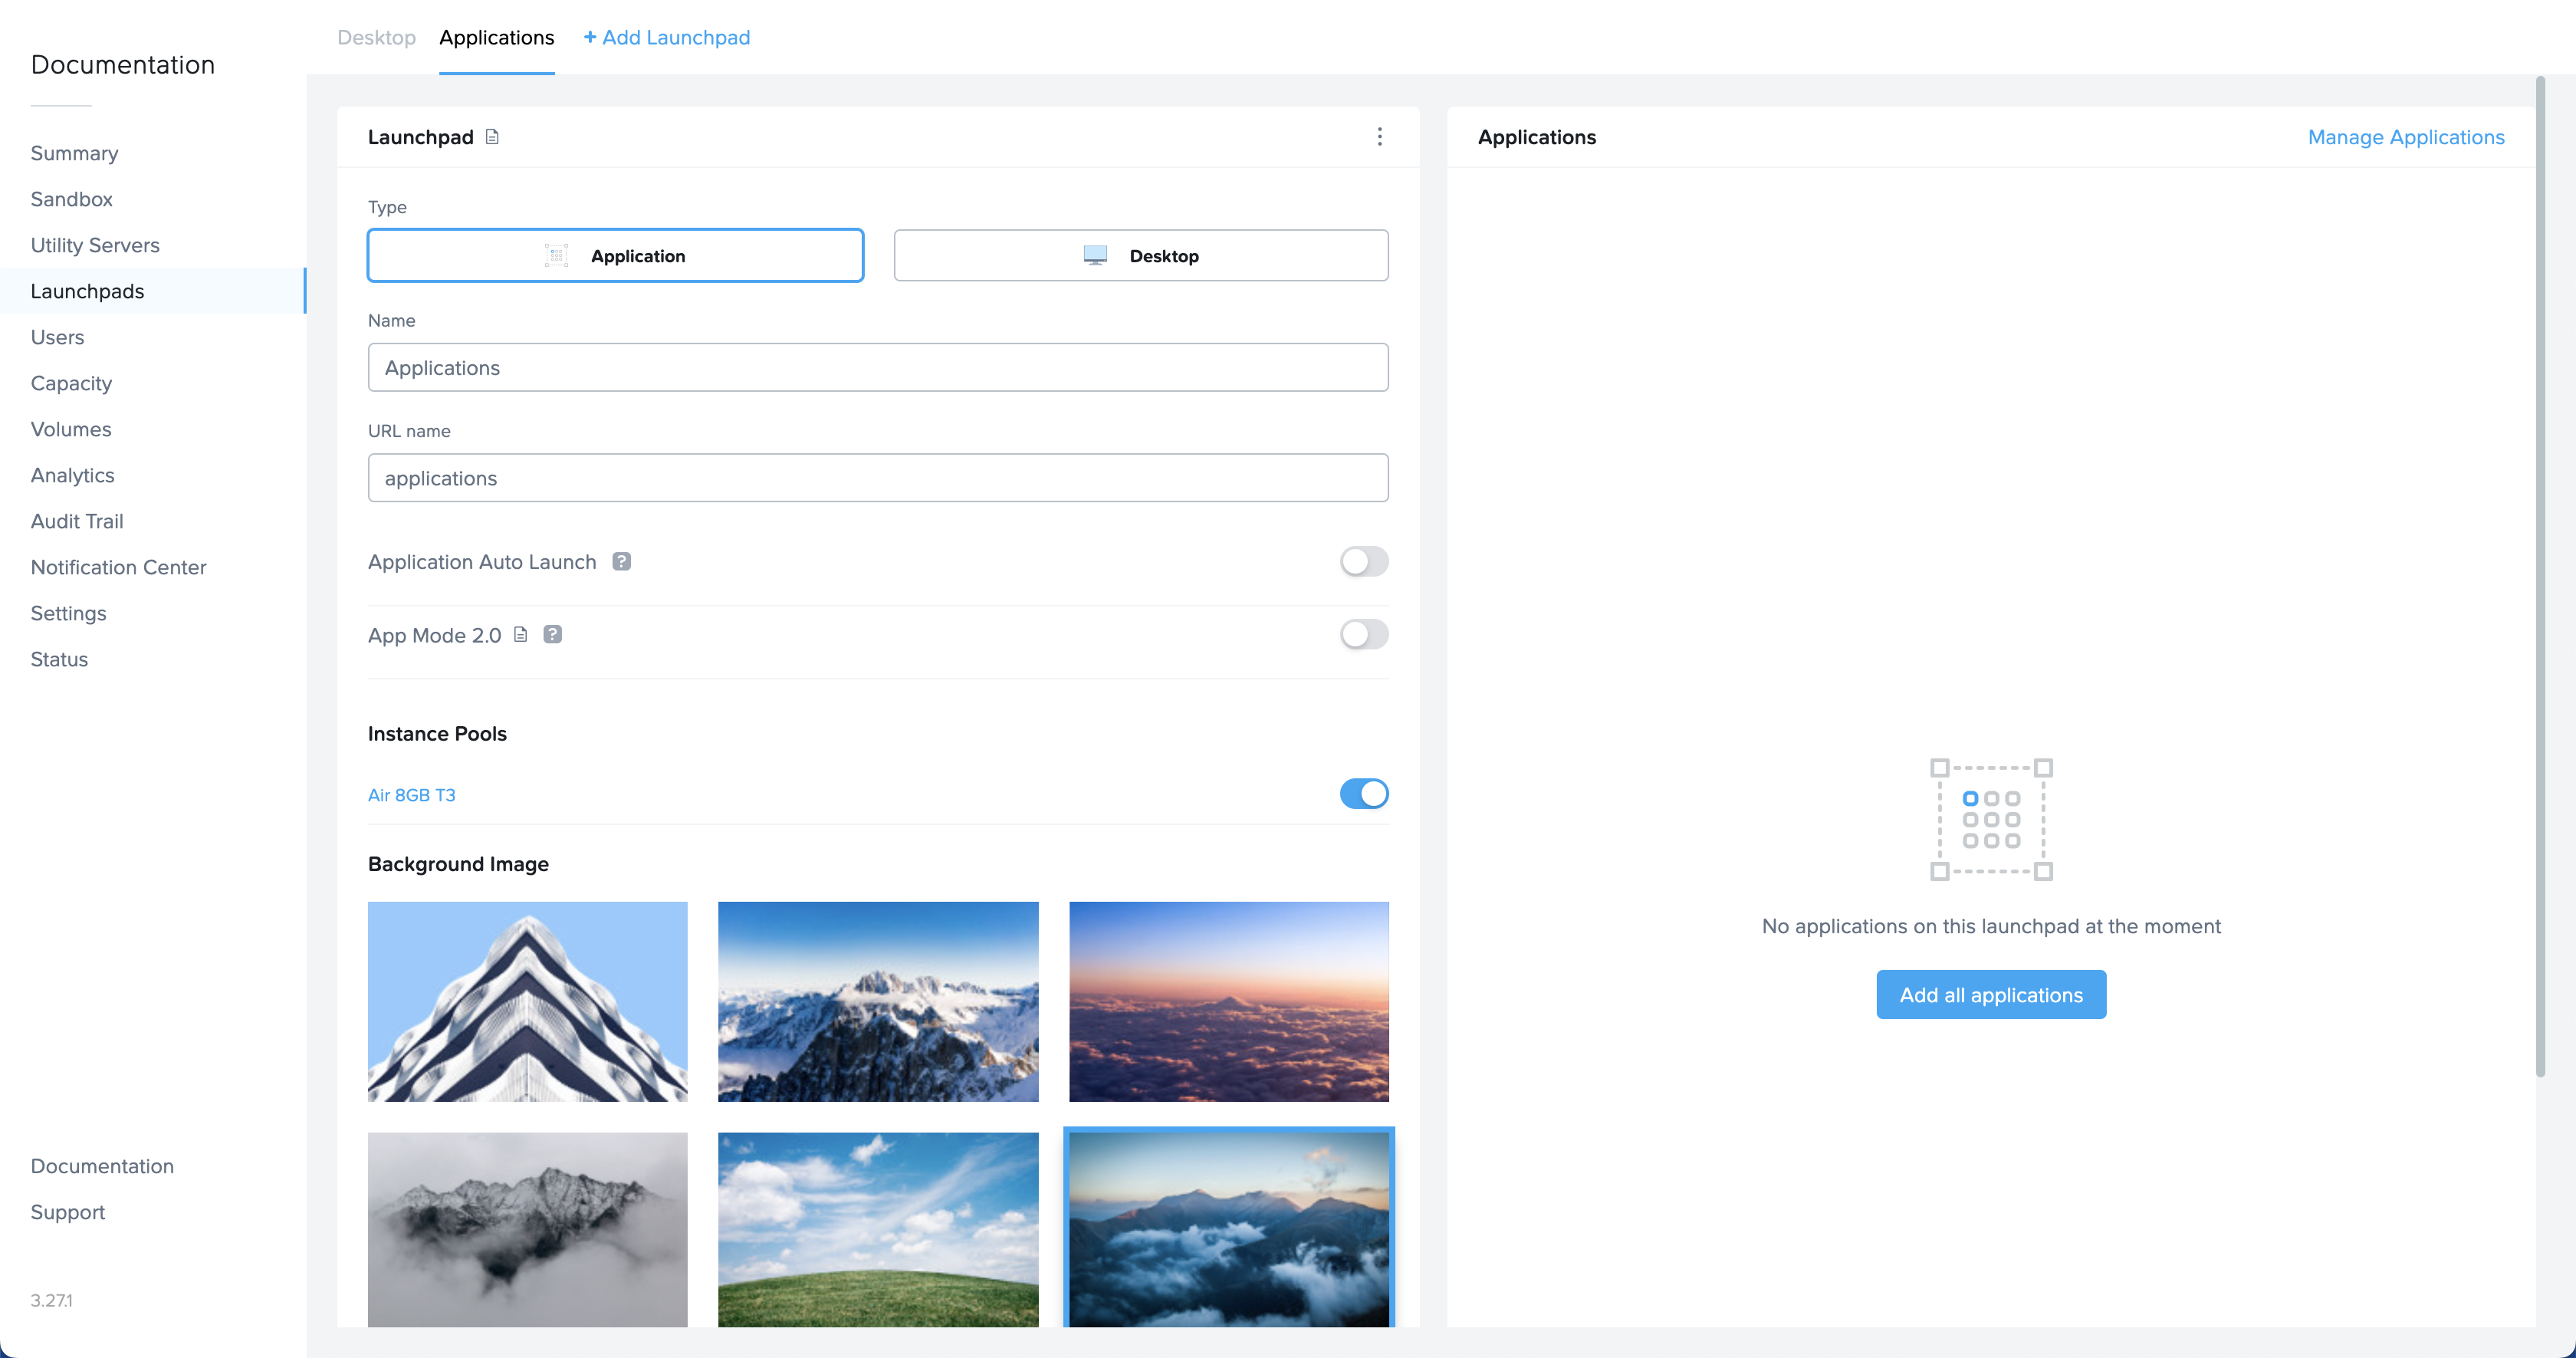
In the Launchpad panel, admins can modify the name, URL name, and instance types they would like accessible to their end users. Admins can also switch between Application and Desktop Launchpad types and select their launchpad background image.
Click on the kebab menu in the upper right corner of this section to delete the Launchpad or modify session settings specific to this Launchpad. Read more about session settings by clicking here or navigating to the Session Settings section of Frame Platform documentation.
Application Launchpad
Administrators can use the Layout section to choose which applications are visible to the end user when accessing their Application Launchpad. Click Manage Applications to toggle which applications you wish to display in the layout area.
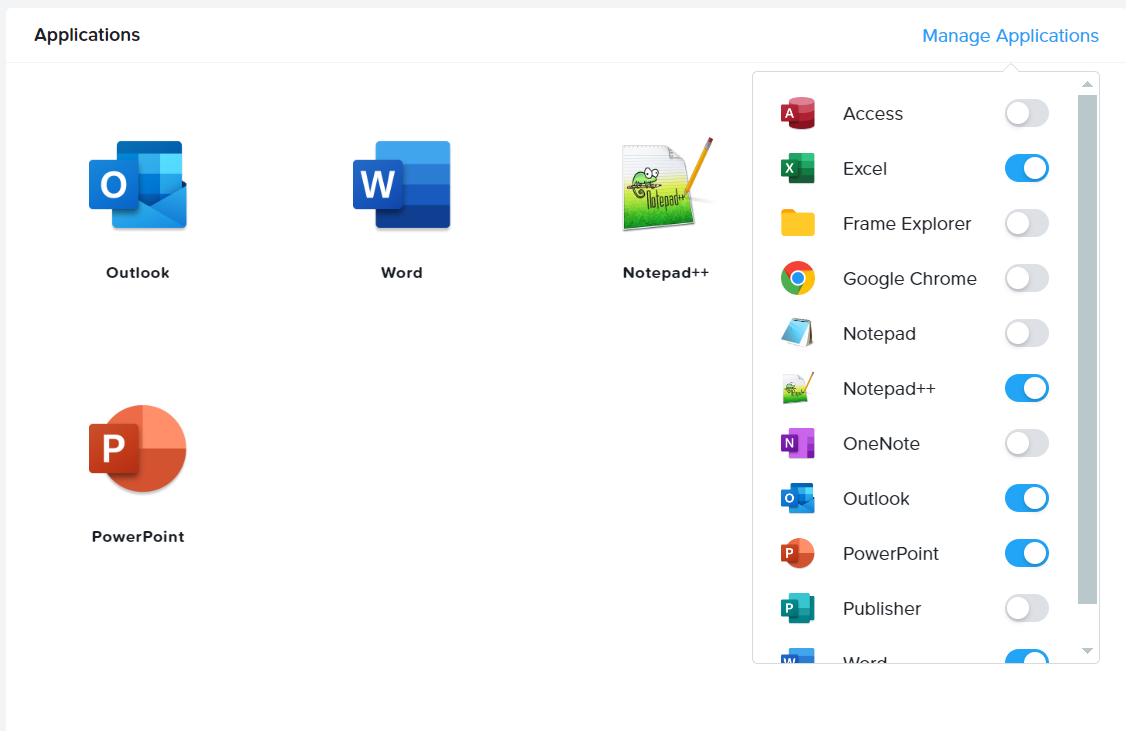
Admins can group app icons together into folders and/or change the order as desired. Click Save once you've made the desired changes.
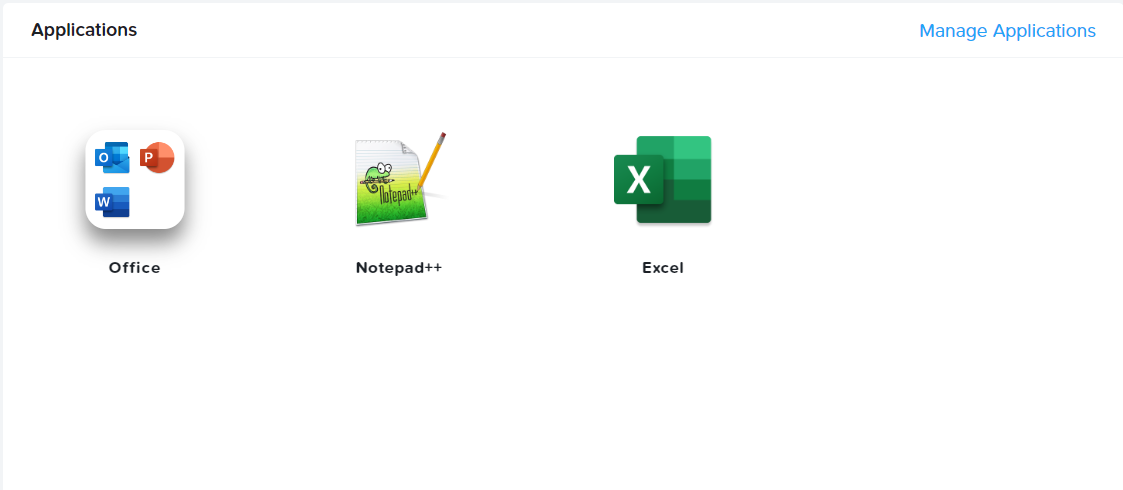
Here is an example of an Application Launchpad:
Application Auto Launch
For administrators who want to send users directly into their app session, skipping the Launchpad completely, enable the Application Auto Launch slider. This feature is applicable only for Launchpads with a single application.
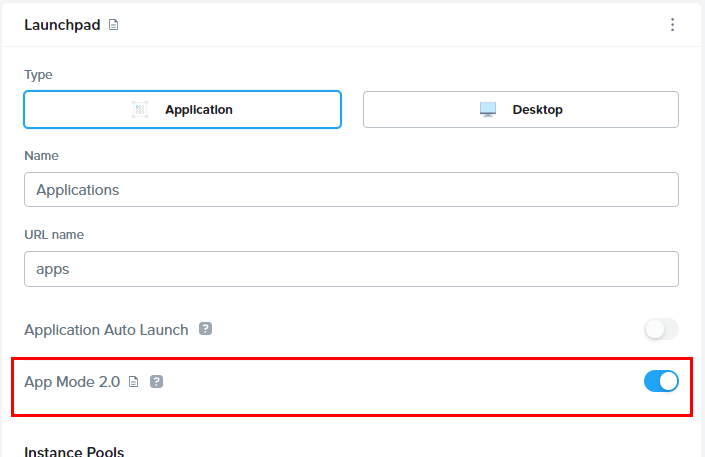
Application Launchpad 2.0
Administrators delivering Frame sessions via Application Launchpad can now provide an enhanced experience to end users with App Mode 2.0. App Mode 2.0 allows end users to access their onboarded applications from the Frame start menu within the session.

In legacy app mode, users are prompted to end their session if they close the application they selected from their Launchpad. With App Mode 2.0, users can open multiple onboarded applications within the session and leave the session running without apps open (similar to a Desktop session).
Administrators can use App Mode 2.0 simply by enabling the toggle in the application Launchpad's settings. Accounts created after December 15th, 2023 have this feature enabled by default.
Administrators can hide the Windows Task Bar with App Mode 2.0. Refer to Autohide the Windows Task Bar in App Mode 2.0 to understand how to use FGA Scripting to set the appropriate registry key to autohide the Windows Task Bar.
Desktop Launchpad
Desktop Launchpad settings are identical to Application Launchpad settings, however, there is no “Applications” section. Desktop Launchpads only consist of one Desktop icon, so there is no layout configuration necessary.

Here is an example of a Desktop Launchpad:

Desktop Auto Launch
For administrators who want to send users directly into their desktop session, skipping the Launchpad completely, enable the Desktop Auto Launch slider.
Launchpad Appearance
Administrators can add their own custom Launchpad background images by simply clicking the gray plus symbol listed under Background image on the Launchpad page of their Dashboard. A file browser will launch, select the image you would like to use for your Launchpad background.
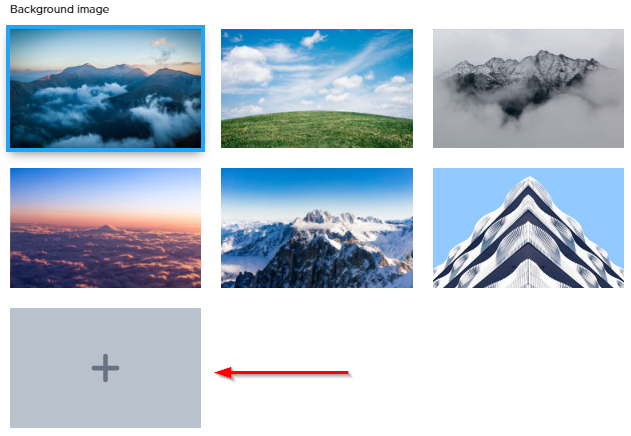
Your custom background image cannot exceed 3 MB in size.
Test Launchpads
Test Launchpads are Launchpads tied to Test Pools, which are created with the Test Publish feature. This part of the guide details how to create Test Launchpads.
Before you create a Test Launchpad, you must have already done the following:
- Enabled the Test Publish Feature in the Settings page of the Dashboard.
- Added at least one Test Pool in Capacity.
- Configured at least a max capacity of 1 for at least one Test Pool.
- Performed a Test Publish.
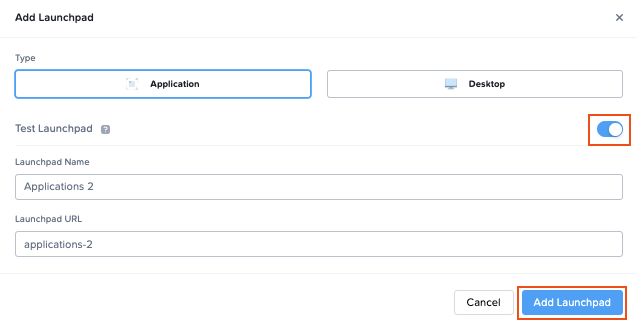
To create a Test Launchpad, go to Dashboard > Launchpad. Add a new Launchpad and enable the Test Launchpad toggle. You need to specify if this Test Launchpad will be an Application or Desktop Launchpad before clicking Add Launchpad.