Google Cloud Platform
This document will provide you with instructions on how to prepare and register your own template image in GCP for use with Frame. Before moving forward with the preparation procedure, please ensure you have read through the general requirements and considerations on the Windows BYO image page. We will outline additional details specific to GCP public cloud below.
Considerations
- When creating a new template image for GCP, we recommend you start with “Microsoft Windows Server 2019” or “Microsoft Windows Server 2022” x64 Datacenter editions with Desktop Experience from the Google Marketplace. Community and third-party Google Marketplace images have not tested.
- You may bring your own image, but the procedure below assumes you have uploaded the image to GCP and verified that a Windows VM instance built using your image operates correctly.
Preparation
First, starting with a Windows Server 2019 or Windows Server 2022 image, create a VM in the GCP project you are going to use for Frame. When configuring your image, you must use a Windows OS user account with local Windows administrator privileges.
Use RDP to connect into your VM. Follow the Installation and Usage instructions to download the Frame Agent Setup Tool (FAST) and install the Frame Agent, drivers, and tools in your template image VM.
- Once FAST has successfully installed the Frame Agent, drivers, and tools, reboot the VM to complete the installation of the Frame Agent. Use RDP to connect back into your VM.
For additional installation scenarios (e.g., proxy server configuration, command line arguments, review our Frame Agent Setup Tool documentation.
(Optional): If a proxy server is required for all outbound traffic to the Internet from your private network, you will need to configure Frame Guest Agent to use your proxy server. Refer to our FGA Proxy Helper Tool documentation page for further details.
(Optional): If you plan to use NVIDIA GPU-based instance types in GCP, make sure you install the appropriate NVIDIA GPU drivers in your template image VM.
The following driver version(s) have been validated for use with Frame workload VMs. Frame cannot offer support for any other driver version or combinations. For GCP, use:
- NVIDIA driver version:
513.46
(Optional): Install your applications and finish image customization.
Once you have configured the image as desired, launch Powershell as an administrator.
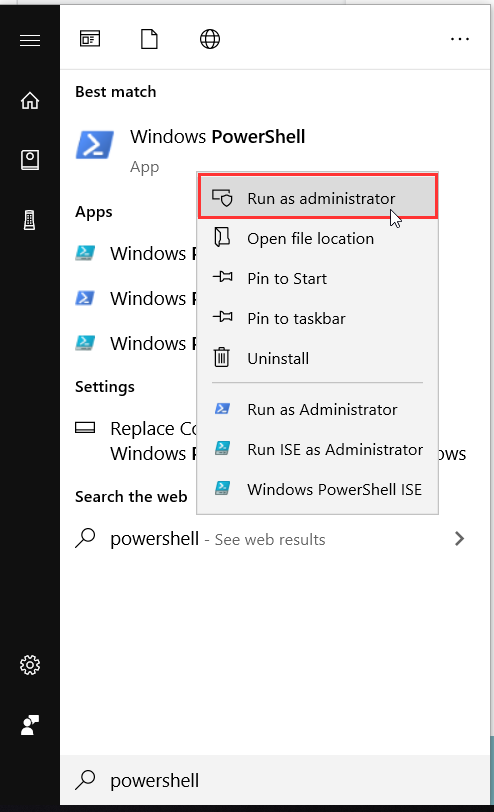
- Run the following PowerShell command to generalize your image using Microsoft Sysprep:
Start-Process -FilePath "$env:windir\System32\Sysprep\Sysprep.exe" -ArgumentList "/oobe /shutdown /generalize /unattend:$env:programdata\Nutanix\Frame\Sysprep\Unattend.xml" -Wait -NoNewWindow
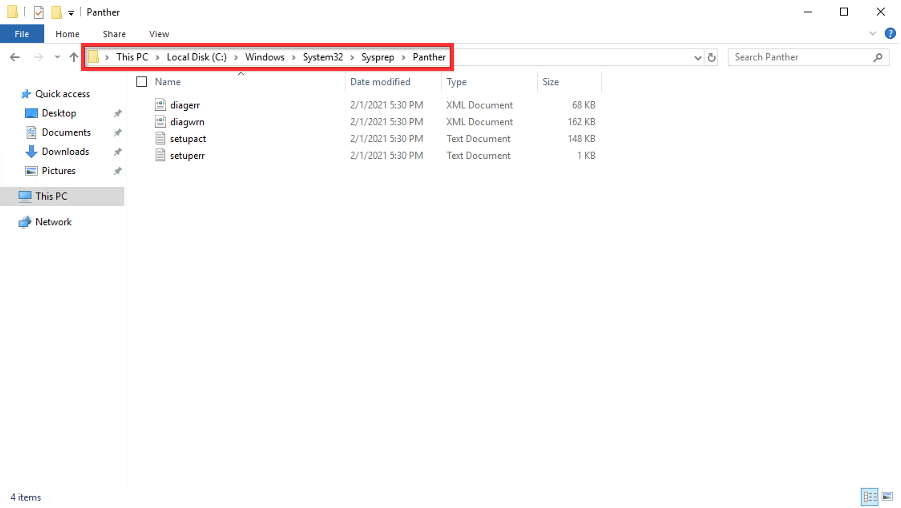
- If the VM does not shutdown, then there was a problem with sysprep. Review the sysprep logs in
%WINDIR%\System32\Sysprep\Pantherto determine the source of the error.
- When sysprep is successful, the VM will automatically power off. Verify that the VM has stopped in GCP Console.

Create Image from VM
- Click on the name of the stopped VM to get to the properties of the VM.
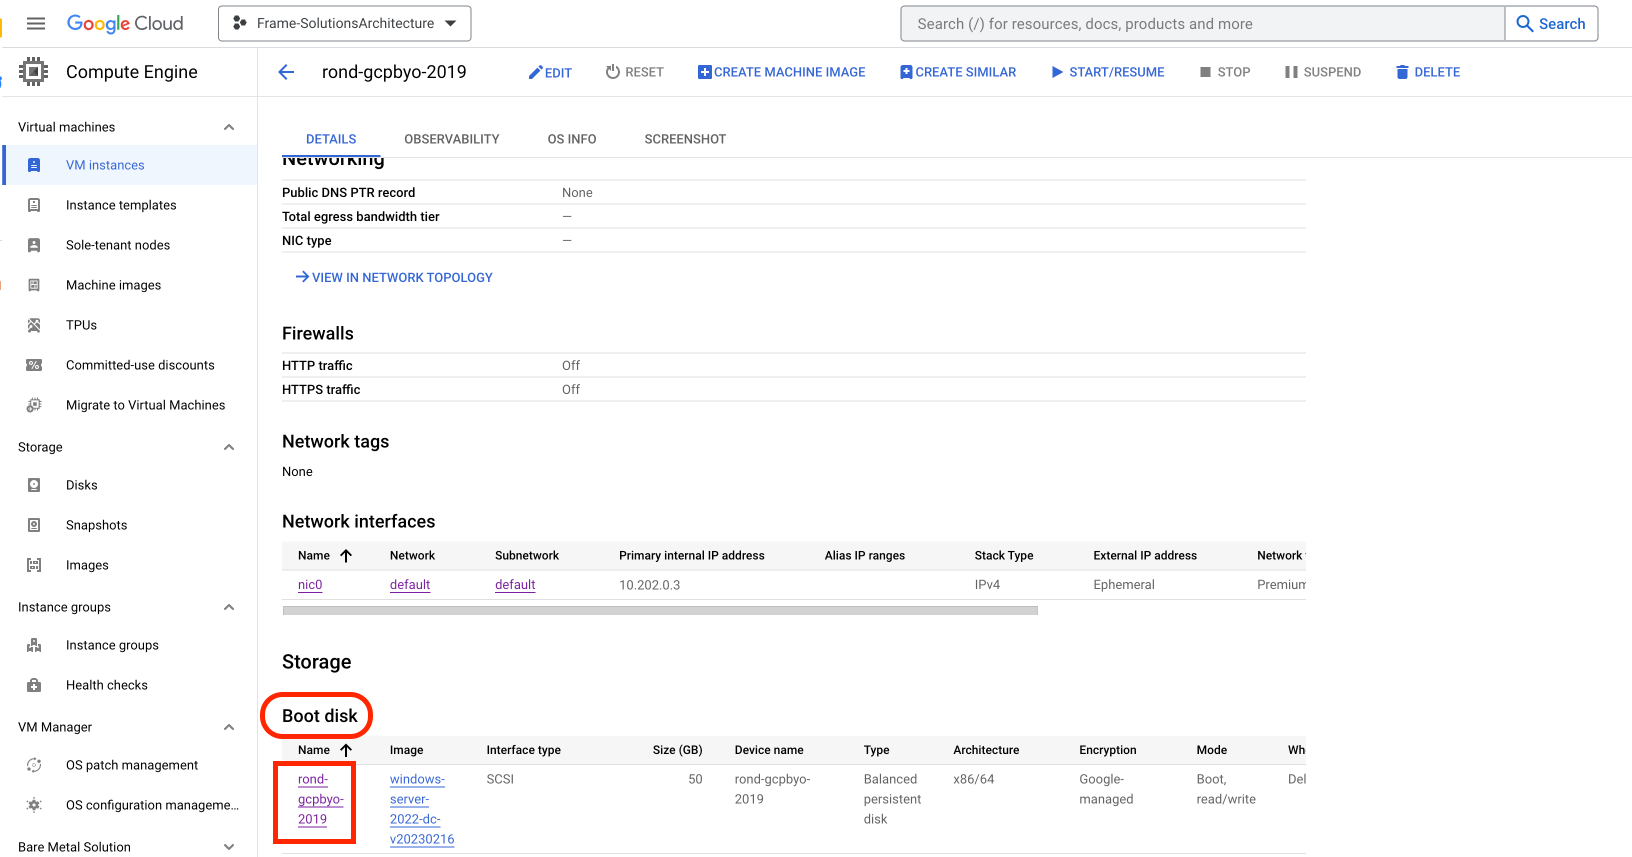
- Scroll down and locate "Boot disk", click on the VM Name link under the “Name” column.

- On the disk’s properties page, click "Create Image" and then complete the Create an Image form:
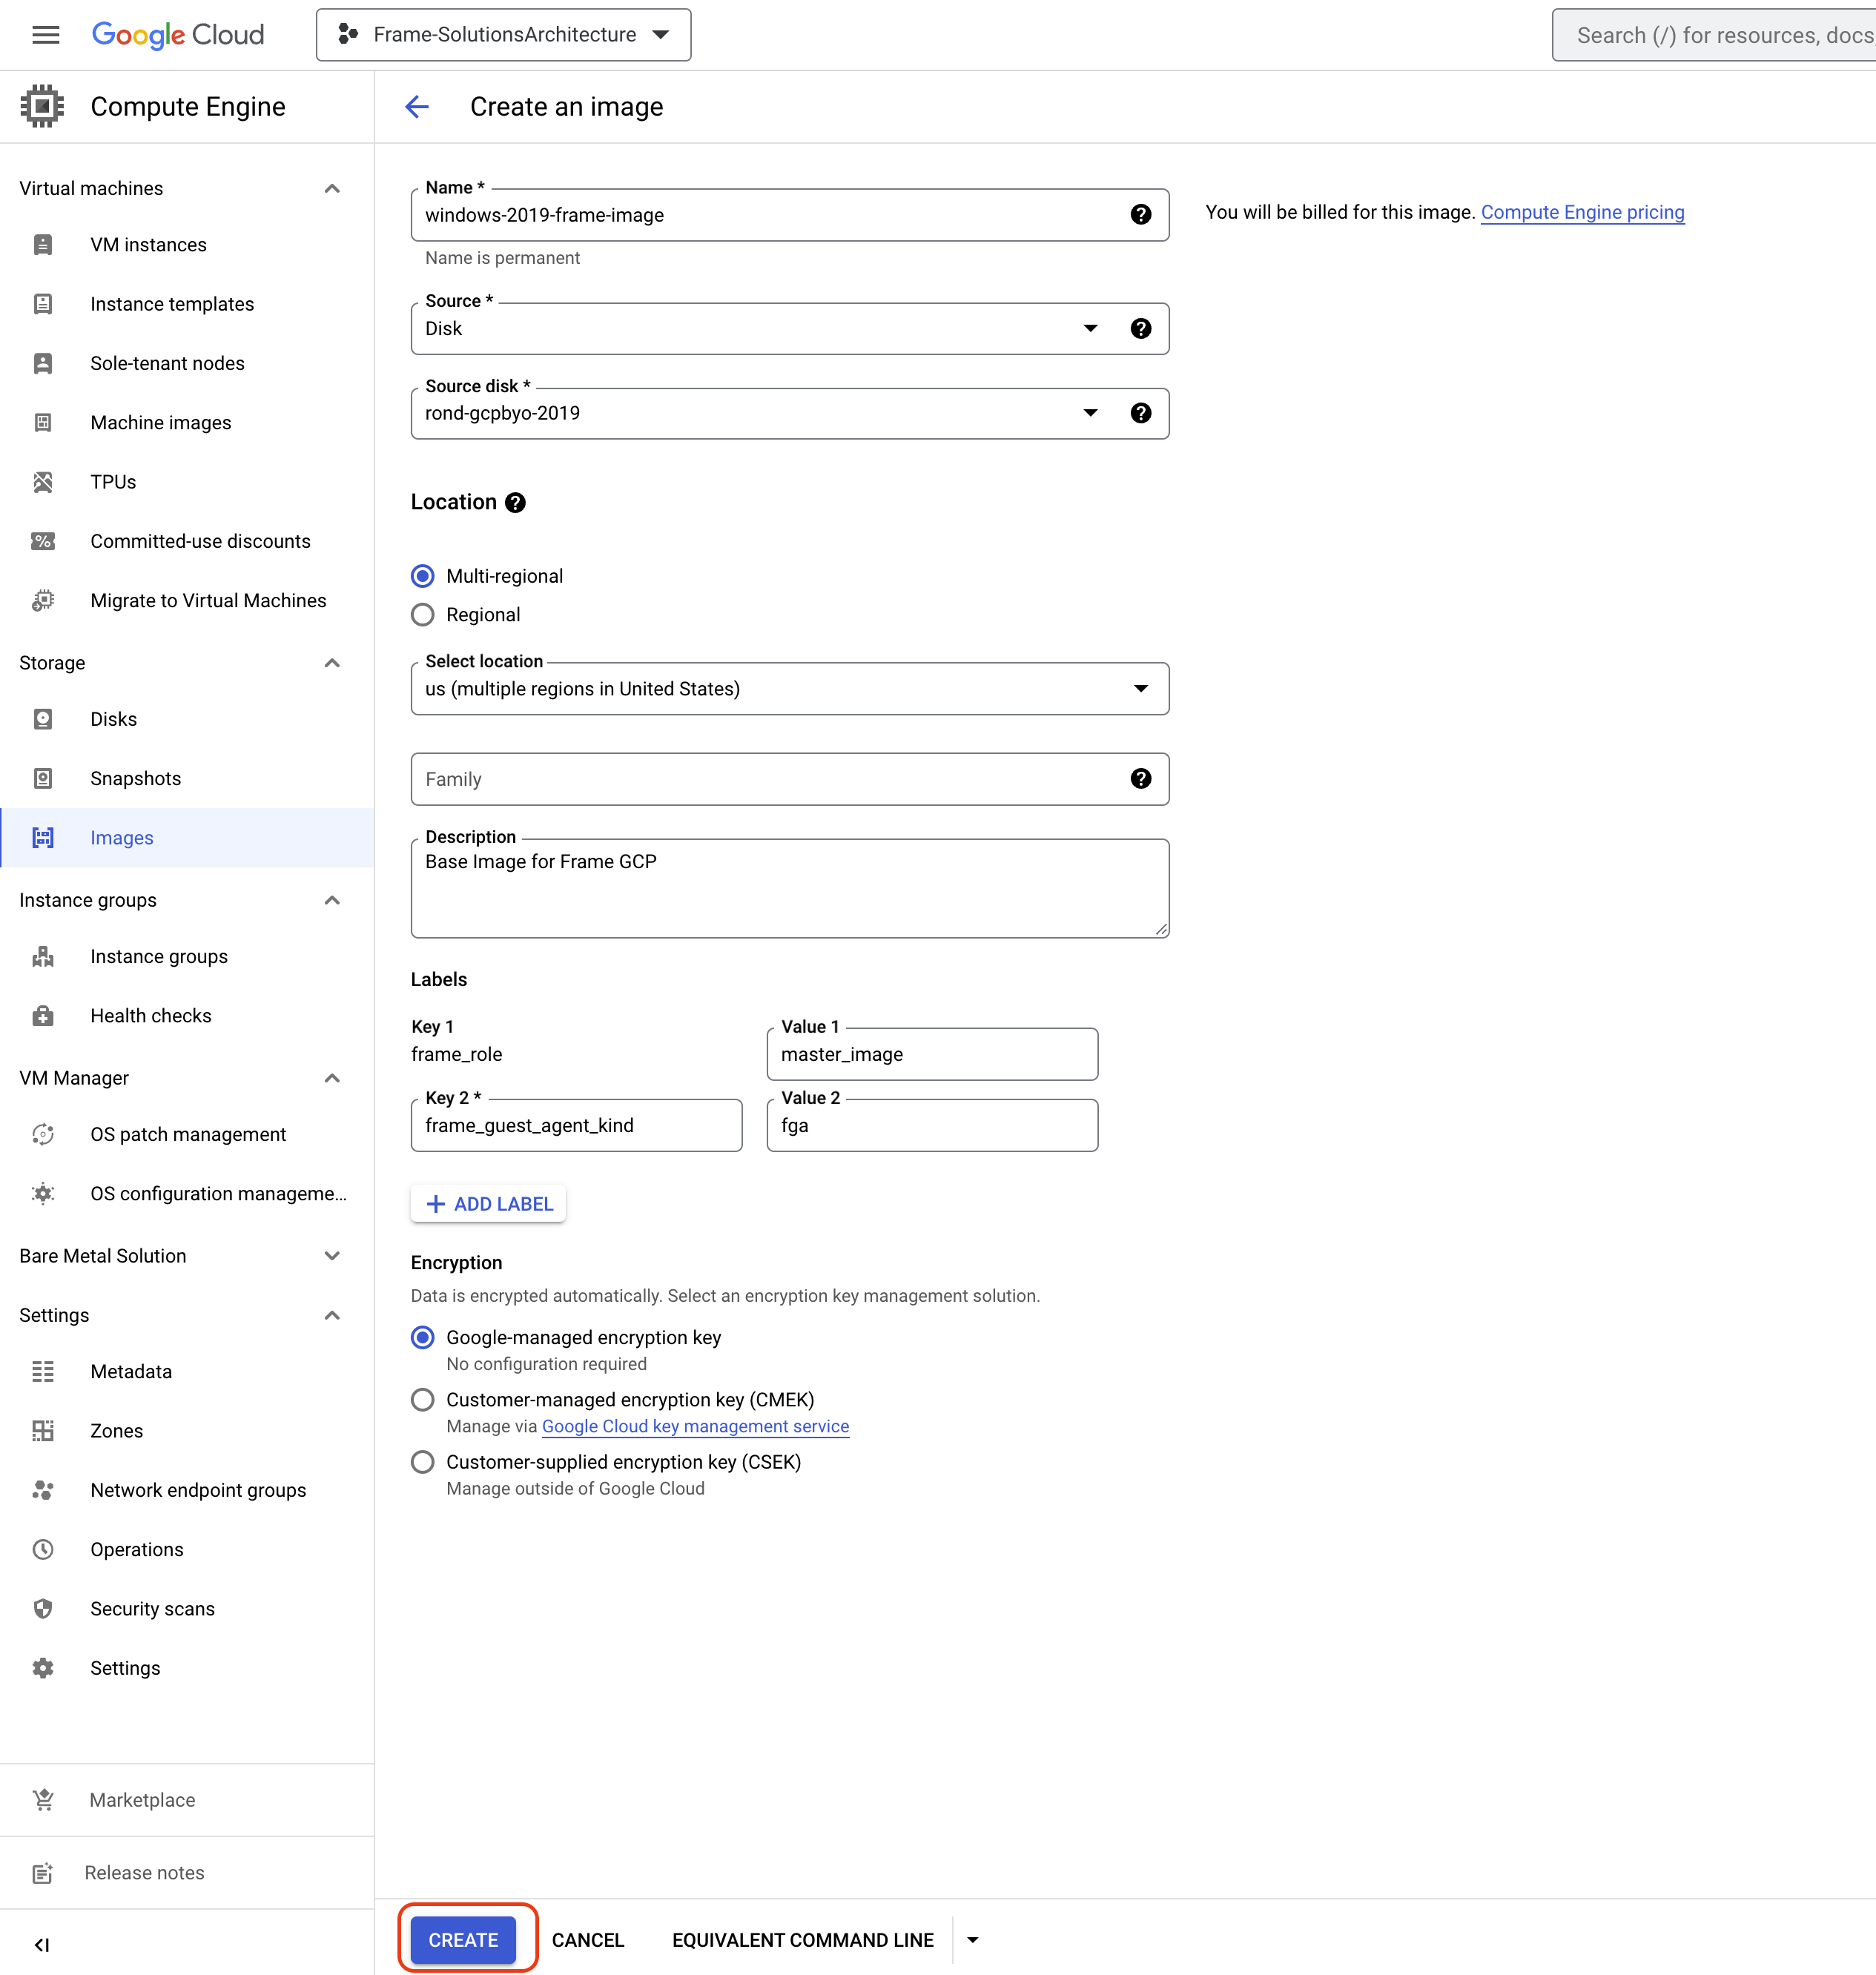
- Name: Specify the name of the image.
- Source: Specify the source to be Disk.
- Source disk: Confirm the source disk.
- Location: Select the region or regions you want this image available in.
- Description: Specify a description for this image.
- Labels: Add the labels required by Frame to recognize this image as a Frame template image.
- Key
frame_rolewith valuemaster_image - Key
frame_guest_agent_kindwith valuefga
- Key
- Click Create to create a GCP image from your VM disk with the required Frame labels.
Voilà! You have successfully created a template image to be registered in Frame for use to create your Frame workloads. You may prepare additional template images (e.g., different Windows OS versions, template images with different sets of applications) by simply repeating the procedure with a new image.
Label Image
If you already have a GCP Windows OS image that was already prepared and sysprepped, you can simply label the image using the following procedure in Google Console and use it in Frame.
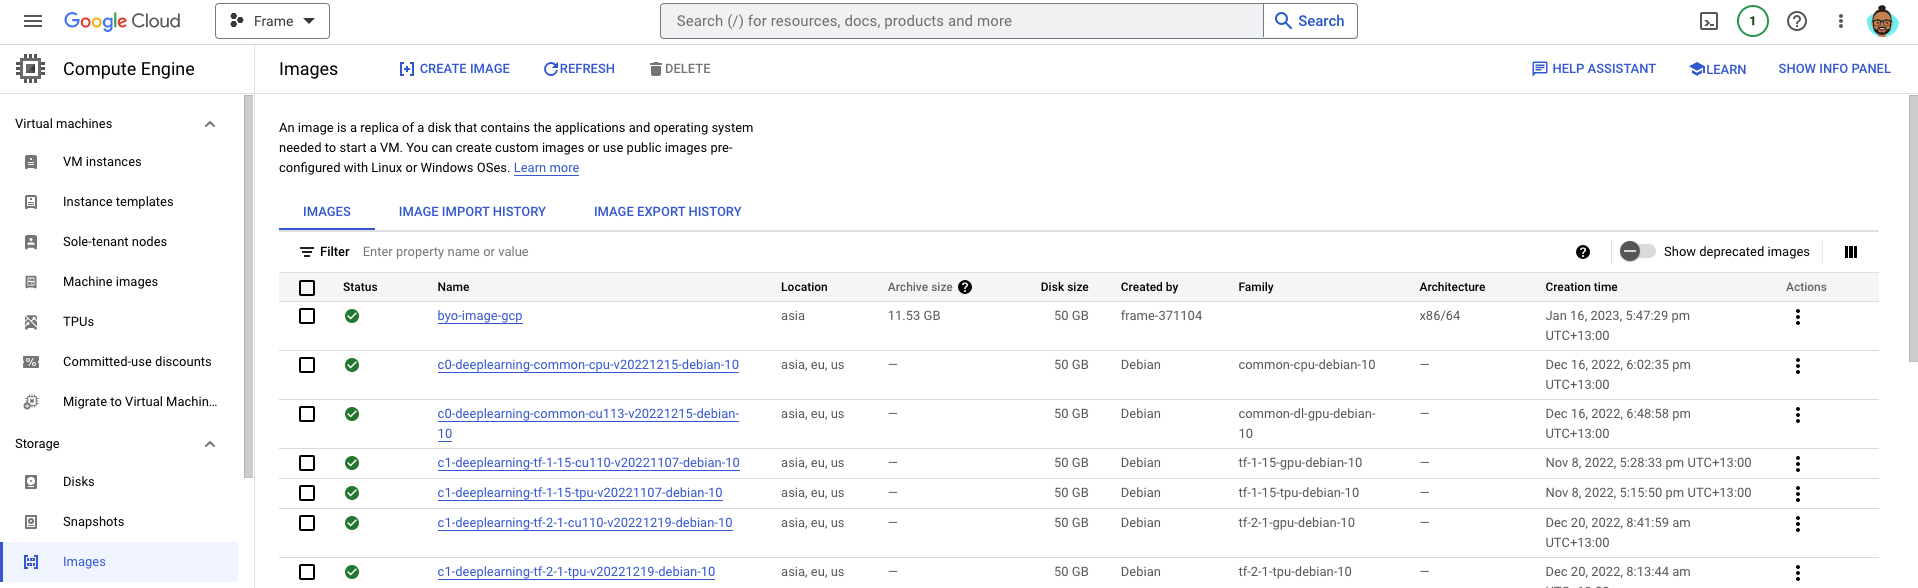
- Navigate to the machine image in the Google console (under Storage > Images) and locate the image associated with the virtual machine you created. Check the checkbox for the image, select SHOW INFO PANEL, and click on the LABELS tab.
- Click on "+ ADD LABEL" and fill out the required fields and assign a label of Key
frame_roleand valuemaster_image, as shown below.
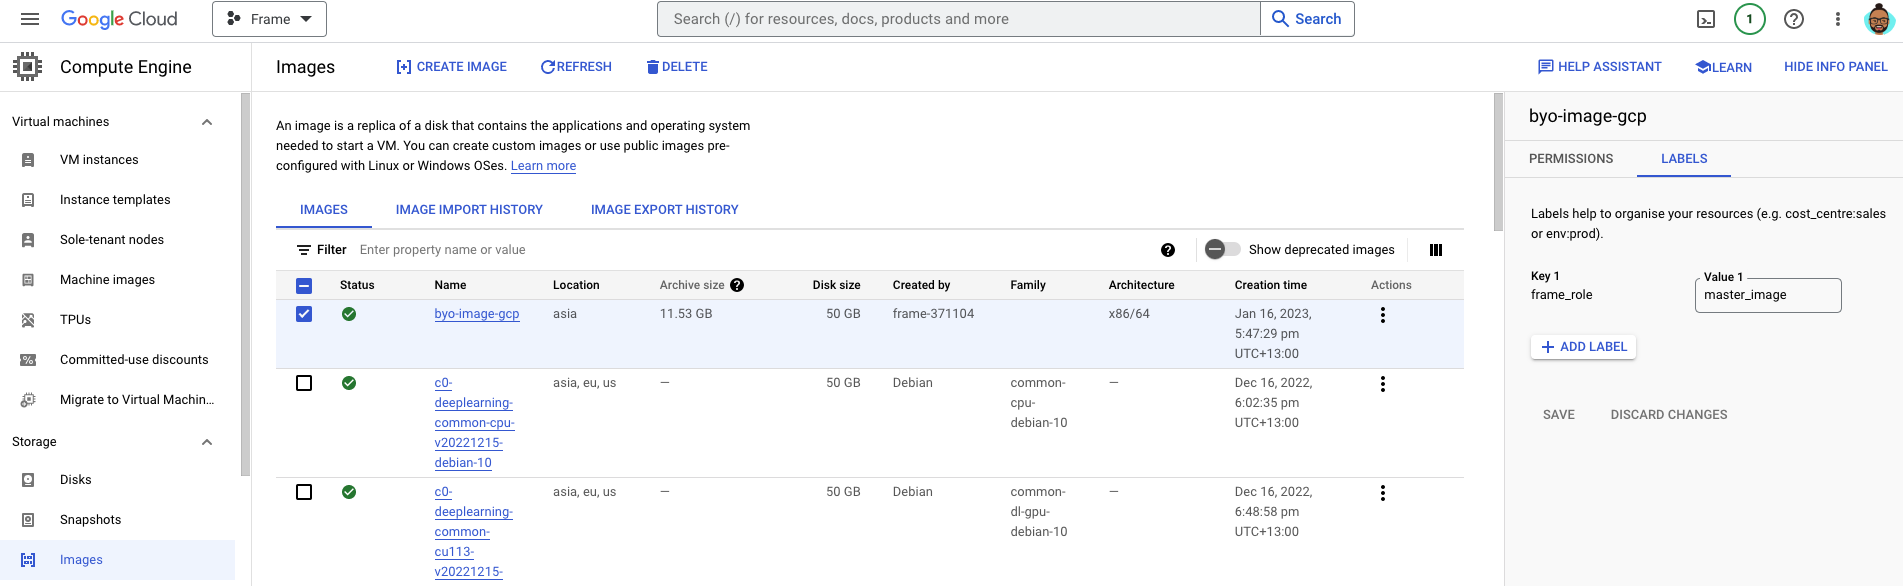
Add a label of Key
frame_guest_agent_kindand valuefga.Click "Save" when you have completed the form.
Registration
Now it's time to register your template image in Frame. See how to do this in our Cloud Accounts > Template Images guide.