Advanced Integrations
Access to Frame apps and desktops can be integrated several different ways within:
- Websites
- Internal portals or services
- Operating systems
- and custom workflows
This section talks about integration tools that can be leveraged for custom integrations.
The Advanced Integrations panel can be found under a Launchpad's settings menu in the Dashboard of an account. This panel allows administrators to choose:
- Specific settings
- An application or desktop
- An identity provider
- and instance type
the administrator would like to use together. Combining these components results in copyable links that can be easily used, shared, or deployed just about anywhere that accepts hyperlinks.


PWA Links
What are PWAs?
PWAs (Progressive Web Apps) are web applications/websites that can be installed to local devices (Windows, Mac, Chrome OS, Linux, and more). Once installed, these apps look, feel, and behave like native applications.
PWA technology promotes a lot of best practices, offers a great experience, and is trending for a lot of other good reasons. Google has eliminated the traditional Chrome Apps in the Chrome Web Store in favor of PWAs, and Microsoft is working to integrate PWAs as first-class citizens in the Windows Store. Combining PWA technology with Frame has some added benefits that makes life easier:
- Frame PWAs are easy to use, install, manage, and customize.
- They are cross-platform. Install them on Windows, Mac, Linux, and Chrome OS from the same PWA link.
- Portability: simply disconnect from your Frame session and seamlessly continue work on a different device.
Chromebooks/ChromeOS
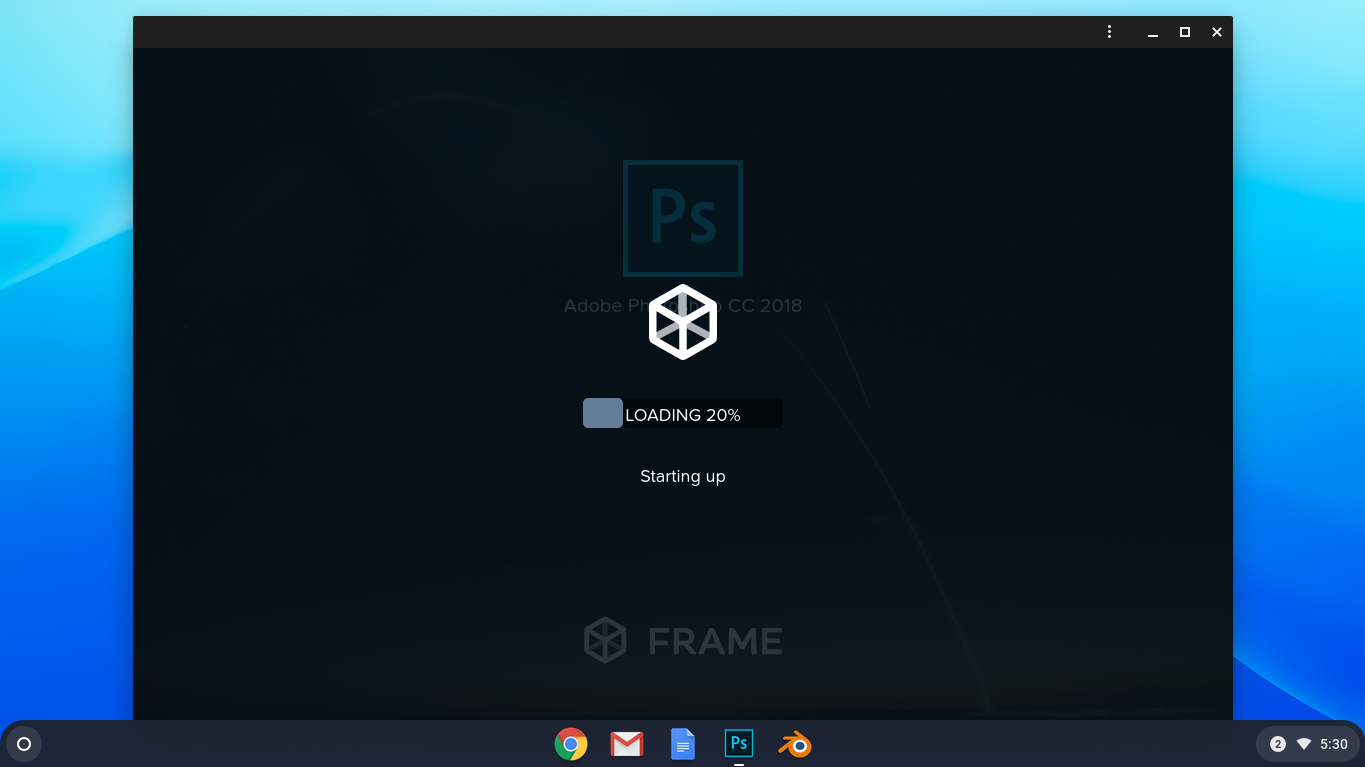
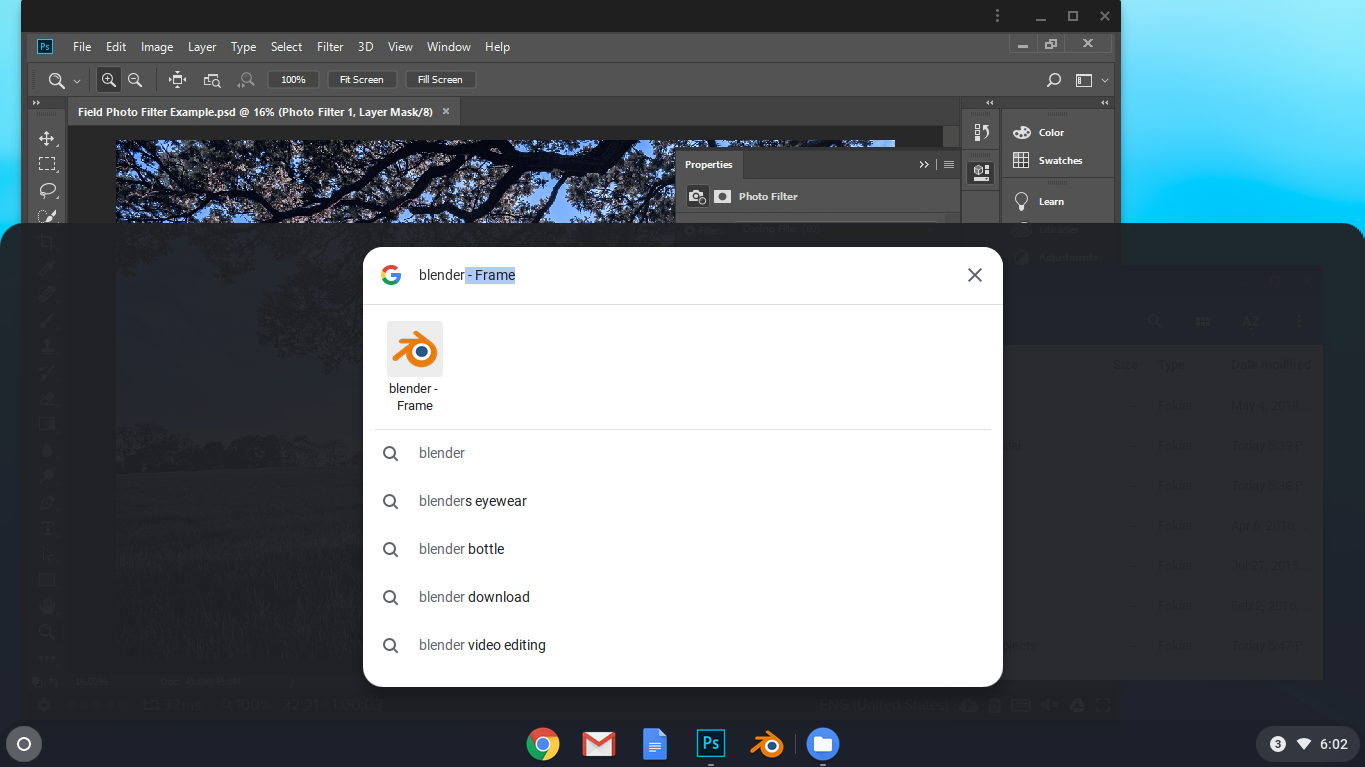
Chromebooks are a great example: PWA technology with Frame allows Chromebook users to have an app like Adobe Photoshop easily accessible via the familiar Photoshop icon in their app drawer, or pinned to their shelf. It's easy to integrate these PWAs with your existing user authentication provider. For example, if you are using Google Workspace for authentication, installed PWAs can be synced between devices, making them as portable as ever. A user could have an app running on their Chromebook, disconnect their session, move to their laptop or desktop, and effortlessly launch the app from a native icon to resume their session.
Are PWAs right for my use case?
Frame PWAs are great for scenarios where users need long-term access to specific apps/desktops since they remove extra steps and clicks. However, there are some situations where Frame apps as a PWA may not be ideal. For example, short-term use cases like trials, training, and events might not make sense to have end-users installing your app if they are not going to use it again a short while later. For those situations, you may want to reach for Launch links instead.
Configuring PWA Links
Step 1. Choose an identify provider.

Step 2. Choose a pool/instance type.

A single onboarded application or desktop can be used with multiple instance types. However, each instance type will have its own PWA link.
Step 3. Copy the PWA link for your app or desktop by clicking the Copy PWA link button.

That's it! You could test the links in a new tab to check for an install prompt and/or share it with a colleague or end user. Now that you have a PWA link, you've a few options for installation!
Manual PWA installation
To manually install a PWA (ideal for testing or smaller team sizes), open a PWA link on a device you would like to install it on. Once the page is loaded, look at Chrome's "omnibar" for a circular plus icon. Click it, then click install.

Manual installation of PWAs is optional. Users can simply use the PWA link to launch the a session from within their browser (the option to install is still available).
Automatically install PWA Links with Managed Chrome
PWA links can be automatically deployed via Chrome to devices managed by administrative policies. There are two ways to manage Chrome:
- Cloud-managed (Google Workspace)
- Policies with on-premises tools
To ensure a great experience for your users, be sure your auth (identity provider and roles/permissions) and infrastructure capacity are properly configured before a large scale deployment of apps to your users.
Deployment with Google Workspace (formerly G Suite)
- Workspace Admins need to log in to their Admin console and navigate to Device Management > Chrome > Apps & Extensions.

Click on the Add button at the bottom right of the page, and select Add by URL from the context menu. Paste your pre-configured Frame PWA link in the URL field and select “Open website in Separate Window, then click save.
Your PWA application should appear on signed-in Chrome devices within a few moments.
 .
.
For more information, please read Google's documentation for Adding Apps by URL.
Deployment with On-premises policies
Deploying PWA links with policies (Group Policies or otherwise) is pretty straight-forward. Please read Google's documentation on how to Automatically install web apps.
Uninstalling PWAs
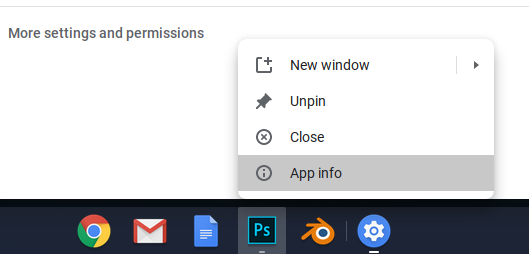
PWAs are easy to uninstall. Users can simply uninstall them from the options menu at the top-right corner of the application. If you'd like to uninstall applications that were installed via Admin policies, simply remove the policy and give a small amount of time for the policy change to be reflected on connected devices – apps should be removed promptly.
Troubleshooting PWAs
When my users visit a PWA link, there's no option to install
This can happen for a few different reasons.
Troubleshooting tips:
- Make sure your browser is fully up-to-date.
- Make sure your Browser and OS support PWAs. At the the time of writing, Firefox doesn't support Desktop PWAs but does Mozilla supports them on mobile.
- Make sure your application's icon is at least 144x144px, though 512x512 is recommended. Modern apps are typically fine but older apps might need a fresh coat of paint. Admins can upload custom app icons in the Dashboard.
- Try refreshing the page. Sometimes certain PWA assets take a while to download and the installation prompt isn't triggered.
Will my Frame PWA applications work when offline?
No. Frame requires an internet connection to work.
PWAs on mobile devices
While PWAs are cross-platform by nature, please be aware that some users may encounter different experiences with their apps due to smaller screen size and different input methods. Please be sure to test your apps on prospective devices/operating systems/browsers before recommending them to your users.
Launch Links
What are Launch links?
Launch links are an easy way for you to provide your users with a direct link to a specific app or desktop. When a user visits a Launch link, your chosen identity provider handles authentication. Once authenticated, loading these links will immediately start a Frame session for that user.

You can easily copy a Launch Link from the Advanced Integrations panel after configuring your desired identity provider and instance type.

Add a link to your website
Launch links are easy to tie to any website using standard HTML. For example:
<a href="<paste your Launch link here>" target="_blank">
  A custom button
</a>
Okta Chiclets
Already using Okta with Frame? Great! Launch links can be added as Okta Chiclets with the help of Okta's Bookmark App. To get started, follow the steps below.
- As an Okta Admin, let's add a new application.

- Search for Bookmark App and select it.

- Click on Add. Begin by adding the name of your Application into the Application label field.

- Paste your Launch link (copied from Frame's Advanced Integrations dialog) into the URL field (be sure you've selected the right Okta identity provider before copying the link). Apply application visibility settings and click Done.

As with PWA links above, a single onboarded application or desktop can be used with multiple instance types. However, each instance type will have its own Launch link.
- Click on your newly added Bookmark. Click the icon at the top left to update it for a better user experience.
![]()
Repeat these steps to add as many Launch links as you'd like for your users.
Finally, assign your Frame-powered Bookmark app(s) to your users/groups.

Passing Data into Session
For customers who wish to pass data from the browser into the Frame session upon the user clicking on the onboarded application or desktop, these customers can add the userData name and corresponding value in the URL query string of the PWA or Launch URL. This mechanism can be used to pass user session context from a website into the workload VM for use by a custom script or application running within the workload VM.
An example of a Launch URL with the userData name-value pair in the query string would be:
<a href="https://frame.nutanix.com/launch?terminalConfigId=1234567890&idp=nutanix-idp&userData=1234567890abcdef" target="_blank">
  A custom button
</a>
If the userData value is a binary value, then it must be converted to a base64-encoded value before adding it to the query string. Once the userData value is passed into the remote VM, a script can base64-decode the value for further use.
Since the userData value is embedded in the URL and could be modified by the end user, the custom script or application within the workload VM should validate the userData value before using it.
Details on how to obtain the userData value within the remote VM is discussed the section on Retrieve userData from the remote system.
Additional Query Parameters
Both Launch links and PWA links support a handful of URL search query parameters that allow you to customize the behavior of the links.
Supported Query Params
-
qlo- true/false. Forces a log out after a session closes. -
start- true/false. If true, the page will load and and wait for a user to start the session themselves. When a PWA is installed, this value is set to true. -
appName- Lets you customize the name of the application. Must be encoded as a URL-friendly search query URI Component. -
iconUrl- URI-Encoded URL of an icon/image you'd like front-and-center of the Launch PWA/Launch link. -
idp- Set when the URL is initially copied, but you can set it to your IdP of choice by its integration name.
Desktop Launch Link example:
https://console.nutanix.com/?terminalConfigId=$terminalConfigId&appId=desktop&appName=Acme%20Workspace&iconUrl=$UriEncodedIconUrl&start=true&qlo=true&idp=My-SAML-Provider
Desktop PWA Example:
https://console.nutanix.com/?terminalConfigId=$terminalConfigId&appId=desktop&appName=Acme%20Workspace&iconUrl=$UriEncodedIconUrl&start=true&qlo=true&idp=My-SAML-Provider