Getting Started
Deploying Frame App for your end users can be done in a few steps. The following guide will outline how to download, install, update, and use Frame App.
Installer Downloads
Frame App installation and setup is uncomplicated and should only take a few minutes.
Frame App Installer Download by Administrator
Frame administrators can download the Frame App Installer for Linux, macOS, and Windows in two ways:
- They can login to the Frame Console and go to their customer entity, click on the kebab icon, and go to Update > Settings. On the Settings page, they can download the Frame App installers for their desired operating system(s) and share the installer(s) with their end users.
- Or, they can download the Frame App installers for their desired operating system(s) from our Downloads page, and share the installer(s) with their end users.
Frame App Installer Download by User
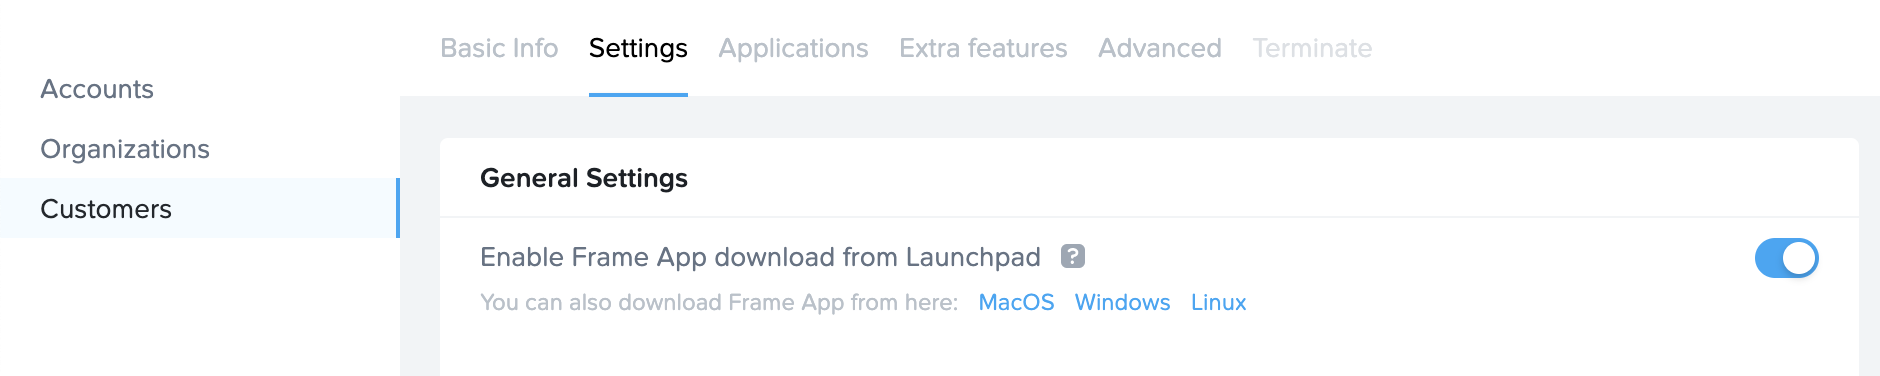
Frame Administrators can enable the ability for their end users to download the Frame App installer from the Launchpad. This can be done by enabling the "Enable Frame App download from Launchpad" toggle on their Frame Customer entity settings.
- Once this toggle is enabled, end users can navigate to their Launchpad in a browser to their profile name.
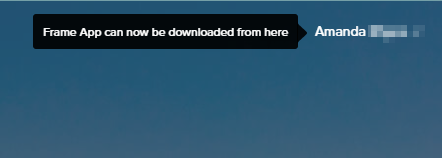
- The end users would click on their profile name and select “Download Frame App for _” from the menu. The browser will automatically detect the endpoint device operating system and show the appropriate Frame App installer.
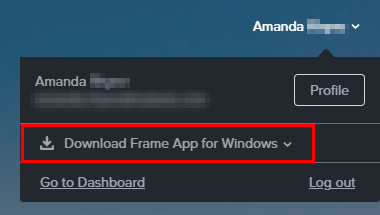
- If the user wishes to download the Frame App installer for a different operating system, they can click on the down arrow next to the “Download Frame App for _” and one of the other Frame App installers can be selected.
Installation
Windows
- Once the Frame App Installer for Windows is downloaded, run the installer.
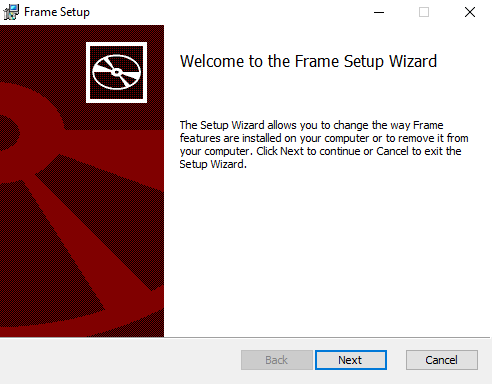
- Follow the prompts provided by the setup wizard, you will be asked to define the directory where you want the application installed.
- Click “Finish” after running through the installation wizard.

Silent Installation for Windows
Customers wishing to deploy Frame App through a silent installation process for Windows can do so by invoking msiexec as a Windows administrator with the Frame App MSI package, starting with Frame App 5.11. A basic silent install of Frame App 6.11 would have a command line:
msiexec /i Frame-6.11.0.msi /qn
To generate an installation log during the silent install, a sample command line would be:
msiexec /i Frame-6.11.0.msi /L*V "FrameApp.log" /qn
Silent Install Arguments
With Frame App 6.0 and higher, customer administrators can set the values of the Preferences during the silent installation of the Frame App MSI package.
If one of following command arguments does not use one of the supported values (e.g., ON or OFF), the silent installation will fail.
| Argument | Details | Example |
|---|---|---|
ADVANCED_USB | Frame App will not allow advanced USB redirection when this argument is set to OFF. The default value is ON. | ADVANCED_USB="OFF" |
ALLUSERS | Frame App will be installed for the current user, by default. To install for all users, set ALLUSERS=1. | ALLUSERS=1 |
CHECK_FOR_UPDATES_ON_STARTUP | Frame App will not check for updates at startup when this argument is set to OFF. The default value is ON. | CHECK_FOR_UPDATES_ON_STARTUP="OFF" |
CLEAR_CACHE_ON_STARTUP | Frame App will clear the local cache on startup when this argument is set to ON. The default value is OFF. | CLEAR_CACHE_ON_STARTUP="ON" |
FORCE | Set this argument value to ON if you wish to replace the existing Preference values with new values and prevent users from changing the values. The default value is OFF. | FORCE="ON" |
INSTALL_DRIVERS | Set this argument value to ON if you wish to install the Frame Virtual USB driver for Advanced USB redirection. If the Virtual USB driver is installed, a reboot will be required to finish the installation of the driver. The default value is ON. | INSTALL_DRIVERS="OFF" |
SEND_ERROR_REPORTS | Set this argument value to OFF if you do not want Frame App to send error reports to Frame. The default value is ON. | SEND_ERROR_REPORTS="OFF" |
STARTUP_URL | Sets the URL that Frame App will go to once Frame App is launched. Be sure the URL is double quoted. The default value is https://console.nutanix.com. | STARTUP_URL="https://console.nutanix.com/customer/?idp=frame-azuread" |
For example, to install Frame App for all users, set the Startup URL, ensure the local cache is cleared at startup, suppress auto-updates, and prevent users from changing the Preferences values, the command line would be:
msiexec /i Frame-5.11.0.msi /L*V "FrameApp.log" ALLUSERS=1 STARTUP_URL="https://console.nutanix.com/customer-name/?idp=frame-azuread" CLEAR_CACHE_ON_STARTUP="ON" CHECK_FOR_UPDATES_ON_STARTUP="OFF" FORCE="ON" /qn
Note that the following msiexec.exe commands can be used:
| Argument | Details |
|---|---|
/i | Normal install |
/norestart | Do not restart the device after the installation completes. |
/qn | No UI during the installation process |
/quiet | No user interaction required |
macOS
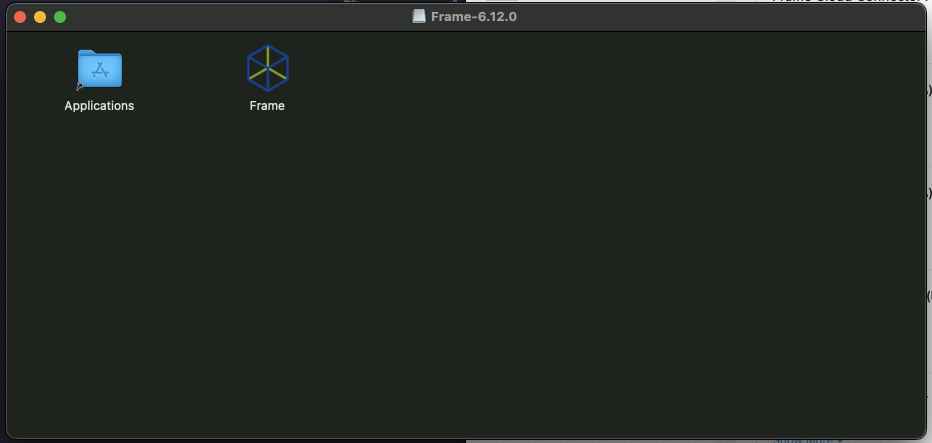
- Once the Frame installer dmg file is downloaded, double click on the dmg file.
- Drag the file into the applications folder.
- Before starting Frame App, navigate to your System Preferences > Security & Privacy.
- Scroll down to Input Monitoring, unlock the dialog to make changes, and check the box next to Frame. Lock in your preferences. This is critical if USB devices are to be used in a Frame session.

- Launch Frame App when you're ready to begin using it.
Linux Installer
Frame App for Linux is only supported on Ubuntu and Ubuntu-based thin client OS that are Frame Ready validated (IGEL OS, Stratodesk NoTouch OS, Zeetim ZeeOS, and 10ZiG PeakOS).
- On your Linux endpoint, open a terminal window and navigate to the location where you have downloaded Frame App. Take note of the version number of Frame App.
- Run sudo apt install plus the file name/location, as shown below:

- Once installed, you should be able to access Frame App from your App Launcher.
Updates
Once installed, Frame App will automatically check for updates every time you launch it. You will be prompted to update your version of Frame App if any newer versions are available.
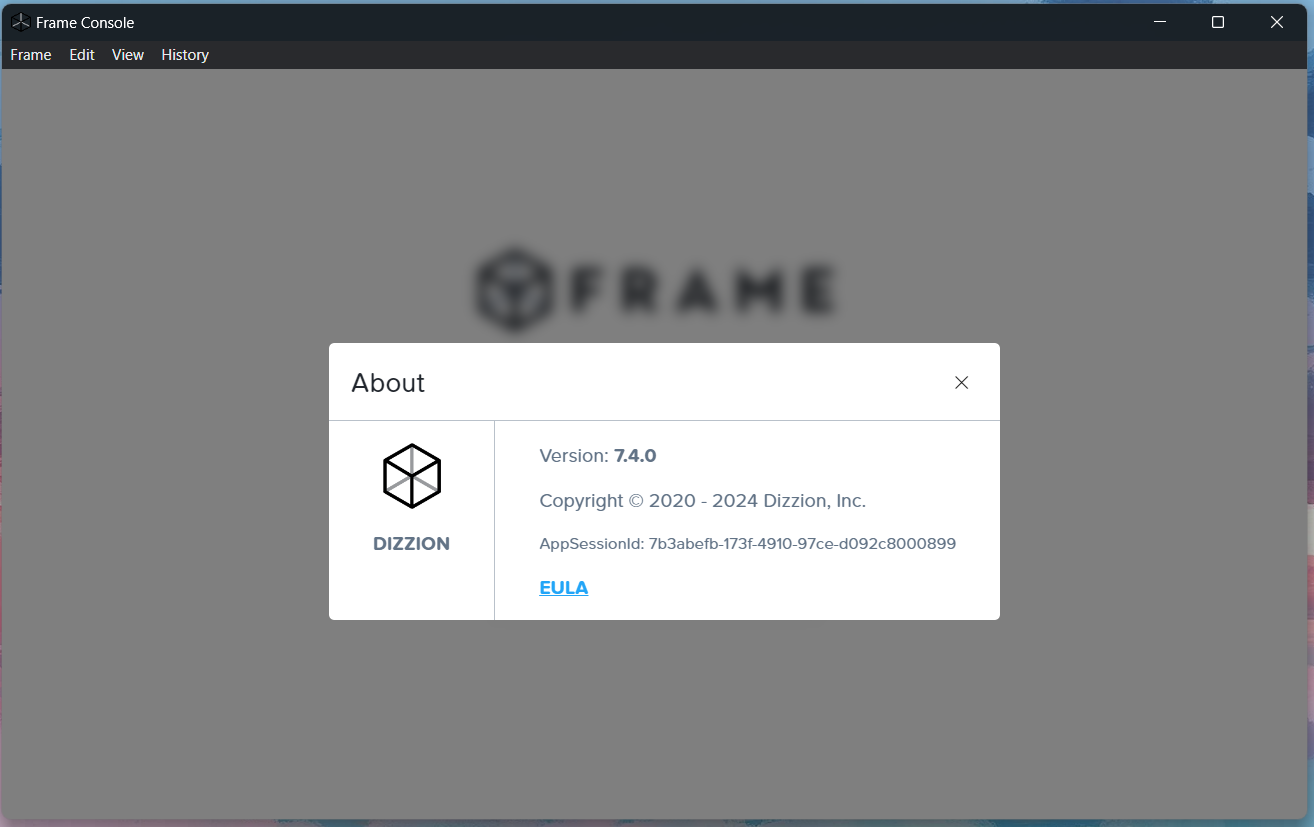
To check your version of Frame App, simply click on the Frame menu and select About.
Using Frame App
End user documentation for Frame App can be found in our End User Getting Started Guide.
Now that you have successfully installed Frame App and understand the basics, you can move on to the Frame App Configuration Guide.